设置 CI
介绍
🌐 Introduction
Playwright 测试可以在任何 CI 提供商上运行。本节我们将介绍如何在 GitHub 上使用 GitHub Actions 运行测试。如果你想了解如何配置其他 CI 提供商,请查看我们详细的持续集成文档。
🌐 Playwright tests can be run on any CI provider. In this section we cover running tests on GitHub using GitHub Actions. If you would like to see how to configure other CI providers, check out our detailed doc on Continuous Integration.
你将学习
🌐 You will learn
设置 GitHub Actions
🌐 Setting up GitHub Actions
要添加一个 GitHub Actions 文件,首先创建 .github/workflows 文件夹,然后在其中添加一个包含以下示例代码的 playwright.yml 文件,以便在每次推送和针对 main/master 分支的拉取请求时运行测试。
🌐 To add a GitHub Actions file, first create .github/workflows folder and inside it add a playwright.yml file containing the example code below so that your tests run on each push and pull request for the main/master branch.
name: Playwright Tests
on:
  push:
    branches: [ main, master ]
  pull_request:
    branches: [ main, master ]
jobs:
  test:
    timeout-minutes: 60
    runs-on: ubuntu-latest
    steps:
    - uses: actions/checkout@v5
    - uses: actions/setup-java@v5
      with:
        distribution: 'temurin'
        java-version: '25'
    - name: Build & Install
      run: mvn -B install -D skipTests --no-transfer-progress
    - name: Ensure browsers are installed
      run: mvn exec:java -e -D exec.mainClass=com.microsoft.playwright.CLI -D exec.args="install --with-deps"
    - name: Run tests
      run: mvn test
要了解更多信息,请参阅《理解 GitHub Actions》。
🌐 To learn more about this, see "Understanding GitHub Actions".
查看 jobs.test.steps 中的步骤列表,你可以看到工作流程执行以下步骤:
🌐 Looking at the list of steps in jobs.test.steps, you can see that the workflow performs these steps:
- 克隆你的代码库
- 安装语言依赖
- 安装项目依赖并构建
- 安装 Playwright 浏览器
- 运行测试
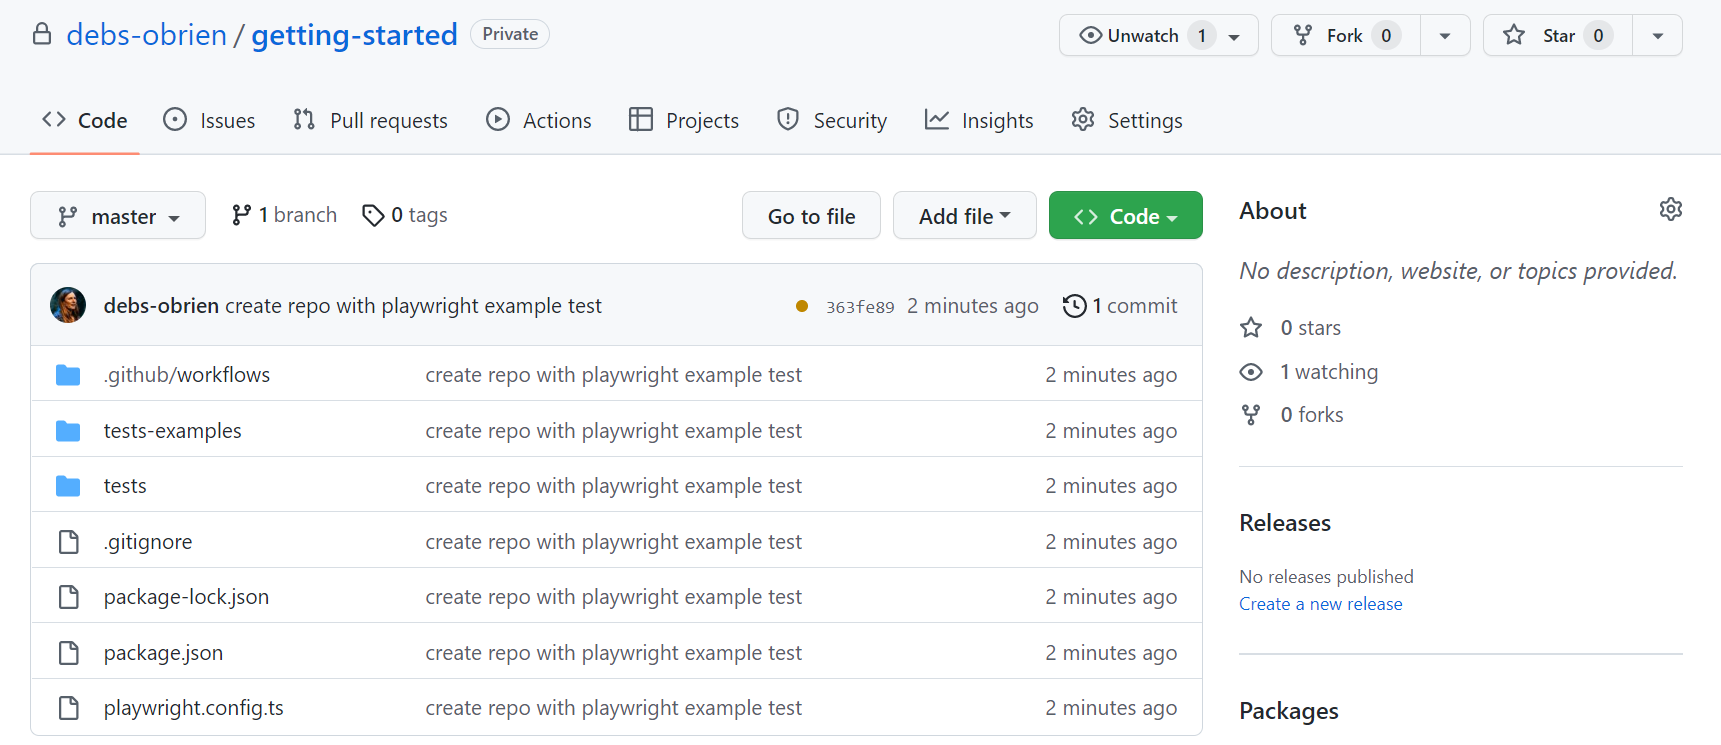
创建 Repo 并推送到 GitHub
🌐 Create a Repo and Push to GitHub
一旦你设置好你的 GitHub Actions 工作流,接下来你需要做的就是 在 GitHub 上创建一个仓库 或将代码推送到已有的仓库。按照 GitHub 上的说明操作,并不要忘记使用 git init 命令 初始化一个 git 仓库,以便你可以 添加、提交 和 推送 你的代码。
🌐 Once you have your GitHub Actions workflow setup, then all you need to do is Create a repo on GitHub or push your code to an existing repository. Follow the instructions on GitHub and don't forget to initialize a git repository using the git init command so you can add, commit, and push your code.
打开工作流程
🌐 Opening the Workflows
点击 操作 标签查看工作流程。在这里,你可以看到你的测试是通过还是失败。
🌐 Click on the Actions tab to see the workflows. Here you see if your tests have passed or failed.
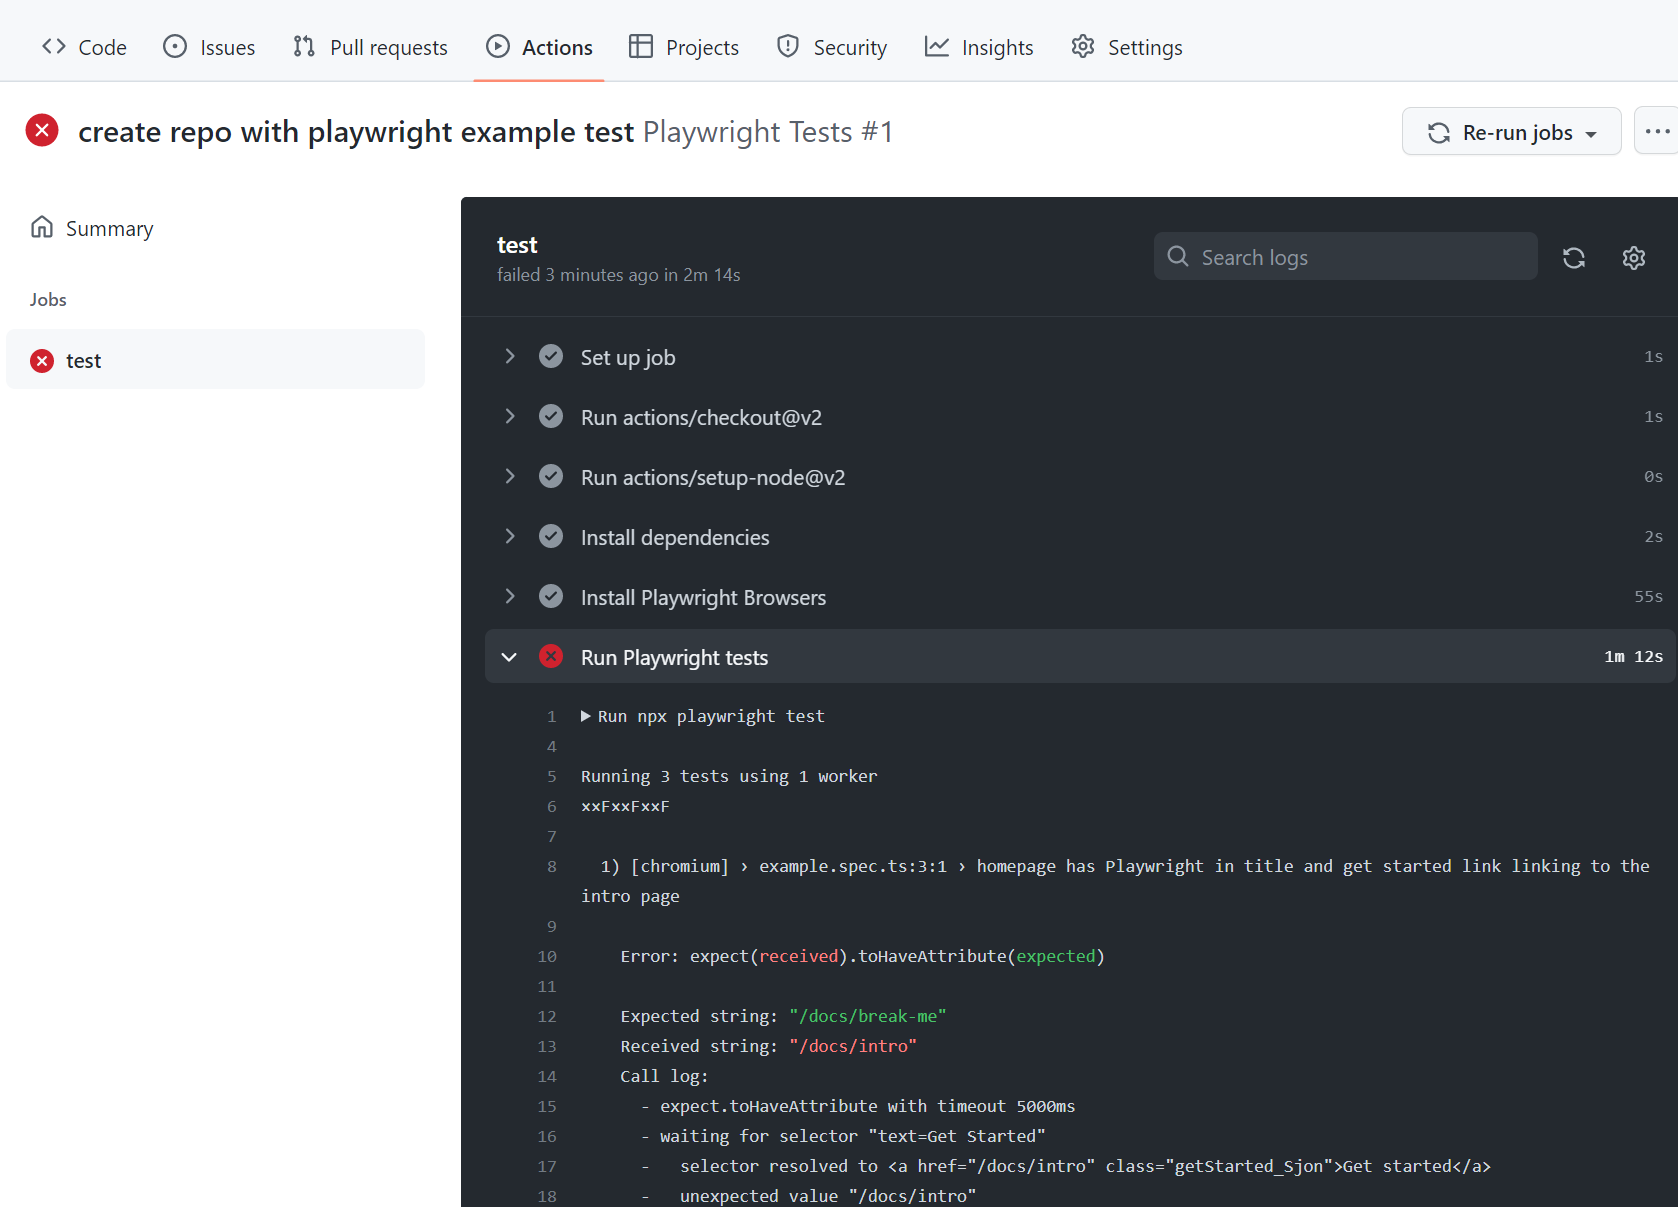
查看测试日志
🌐 Viewing Test Logs
点击工作流运行可以查看 GitHub 执行的所有操作,点击 Run Playwright tests 可以显示错误信息、预期结果和实际接收结果,以及调用日志。
🌐 Clicking on the workflow run shows you all the actions that GitHub performed and clicking on Run Playwright tests shows the error messages, what was expected and what was received as well as the call log.
查看踪迹
🌐 Viewing the Trace
trace.playwright.dev 是 Trace Viewer 的静态托管版本。你可以通过拖放上传跟踪文件。

正确处理密钥
🌐 Properly handling Secrets
像跟踪文件或控制台日志这样的工件包含有关你的测试执行的信息。它们可能包含敏感数据,例如测试用户的用户凭证、访问暂存后台的令牌、测试源代码,甚至有时包括你的应用源代码。像处理这些敏感数据一样小心地处理这些文件。如果你在 CI 工作流中上传报告和跟踪文件,请确保只将它们上传到受信任的工件存储,或者在上传前对文件进行加密。与团队成员共享工件时也应遵循同样的原则:使用受信任的文件共享或在共享前加密文件。
🌐 Artifacts like trace files or console logs contain information about your test execution. They can contain sensitive data like user credentials for a test user, access tokens to a staging backend, testing source code, or sometimes even your application source code. Treat these files just as carefully as you treat that sensitive data. If you upload reports and traces as part of your CI workflow, make sure that you only upload them to trusted artifact stores, or that you encrypt the files before upload. The same is true for sharing artifacts with team members: Use a trusted file share or encrypt the files before sharing.
下一步是什么
🌐 What's Next