测试生成器
介绍
🌐 Introduction
Playwright 提供了在浏览器中执行操作时为你生成测试的功能,这是一种快速开始测试的好方法。Playwright 会查看你的页面并找出最佳定位器,优先考虑角色、文本和测试 ID 定位器。如果生成器找到多个匹配定位器的元素,它会改进定位器,使其具有唯一性,能够可靠地识别目标元素。
🌐 Playwright comes with the ability to generate tests for you as you perform actions in the browser and is a great way to quickly get started with testing. Playwright will look at your page and figure out the best locator, prioritizing role, text and test id locators. If the generator finds multiple elements matching the locator, it will improve the locator to make it resilient that uniquely identify the target element.
在 VS Code 中生成测试
🌐 Generate tests in VS Code
安装 VS Code 扩展并直接从 VS Code 生成测试。该扩展可在 VS Code 市场 获取。查看我们的VS Code 入门指南。
🌐 Install the VS Code extension and generate tests directly from VS Code. The extension is available on the VS Code Marketplace. Check out our guide on getting started with VS Code.
记录新测试
🌐 Record a New Test
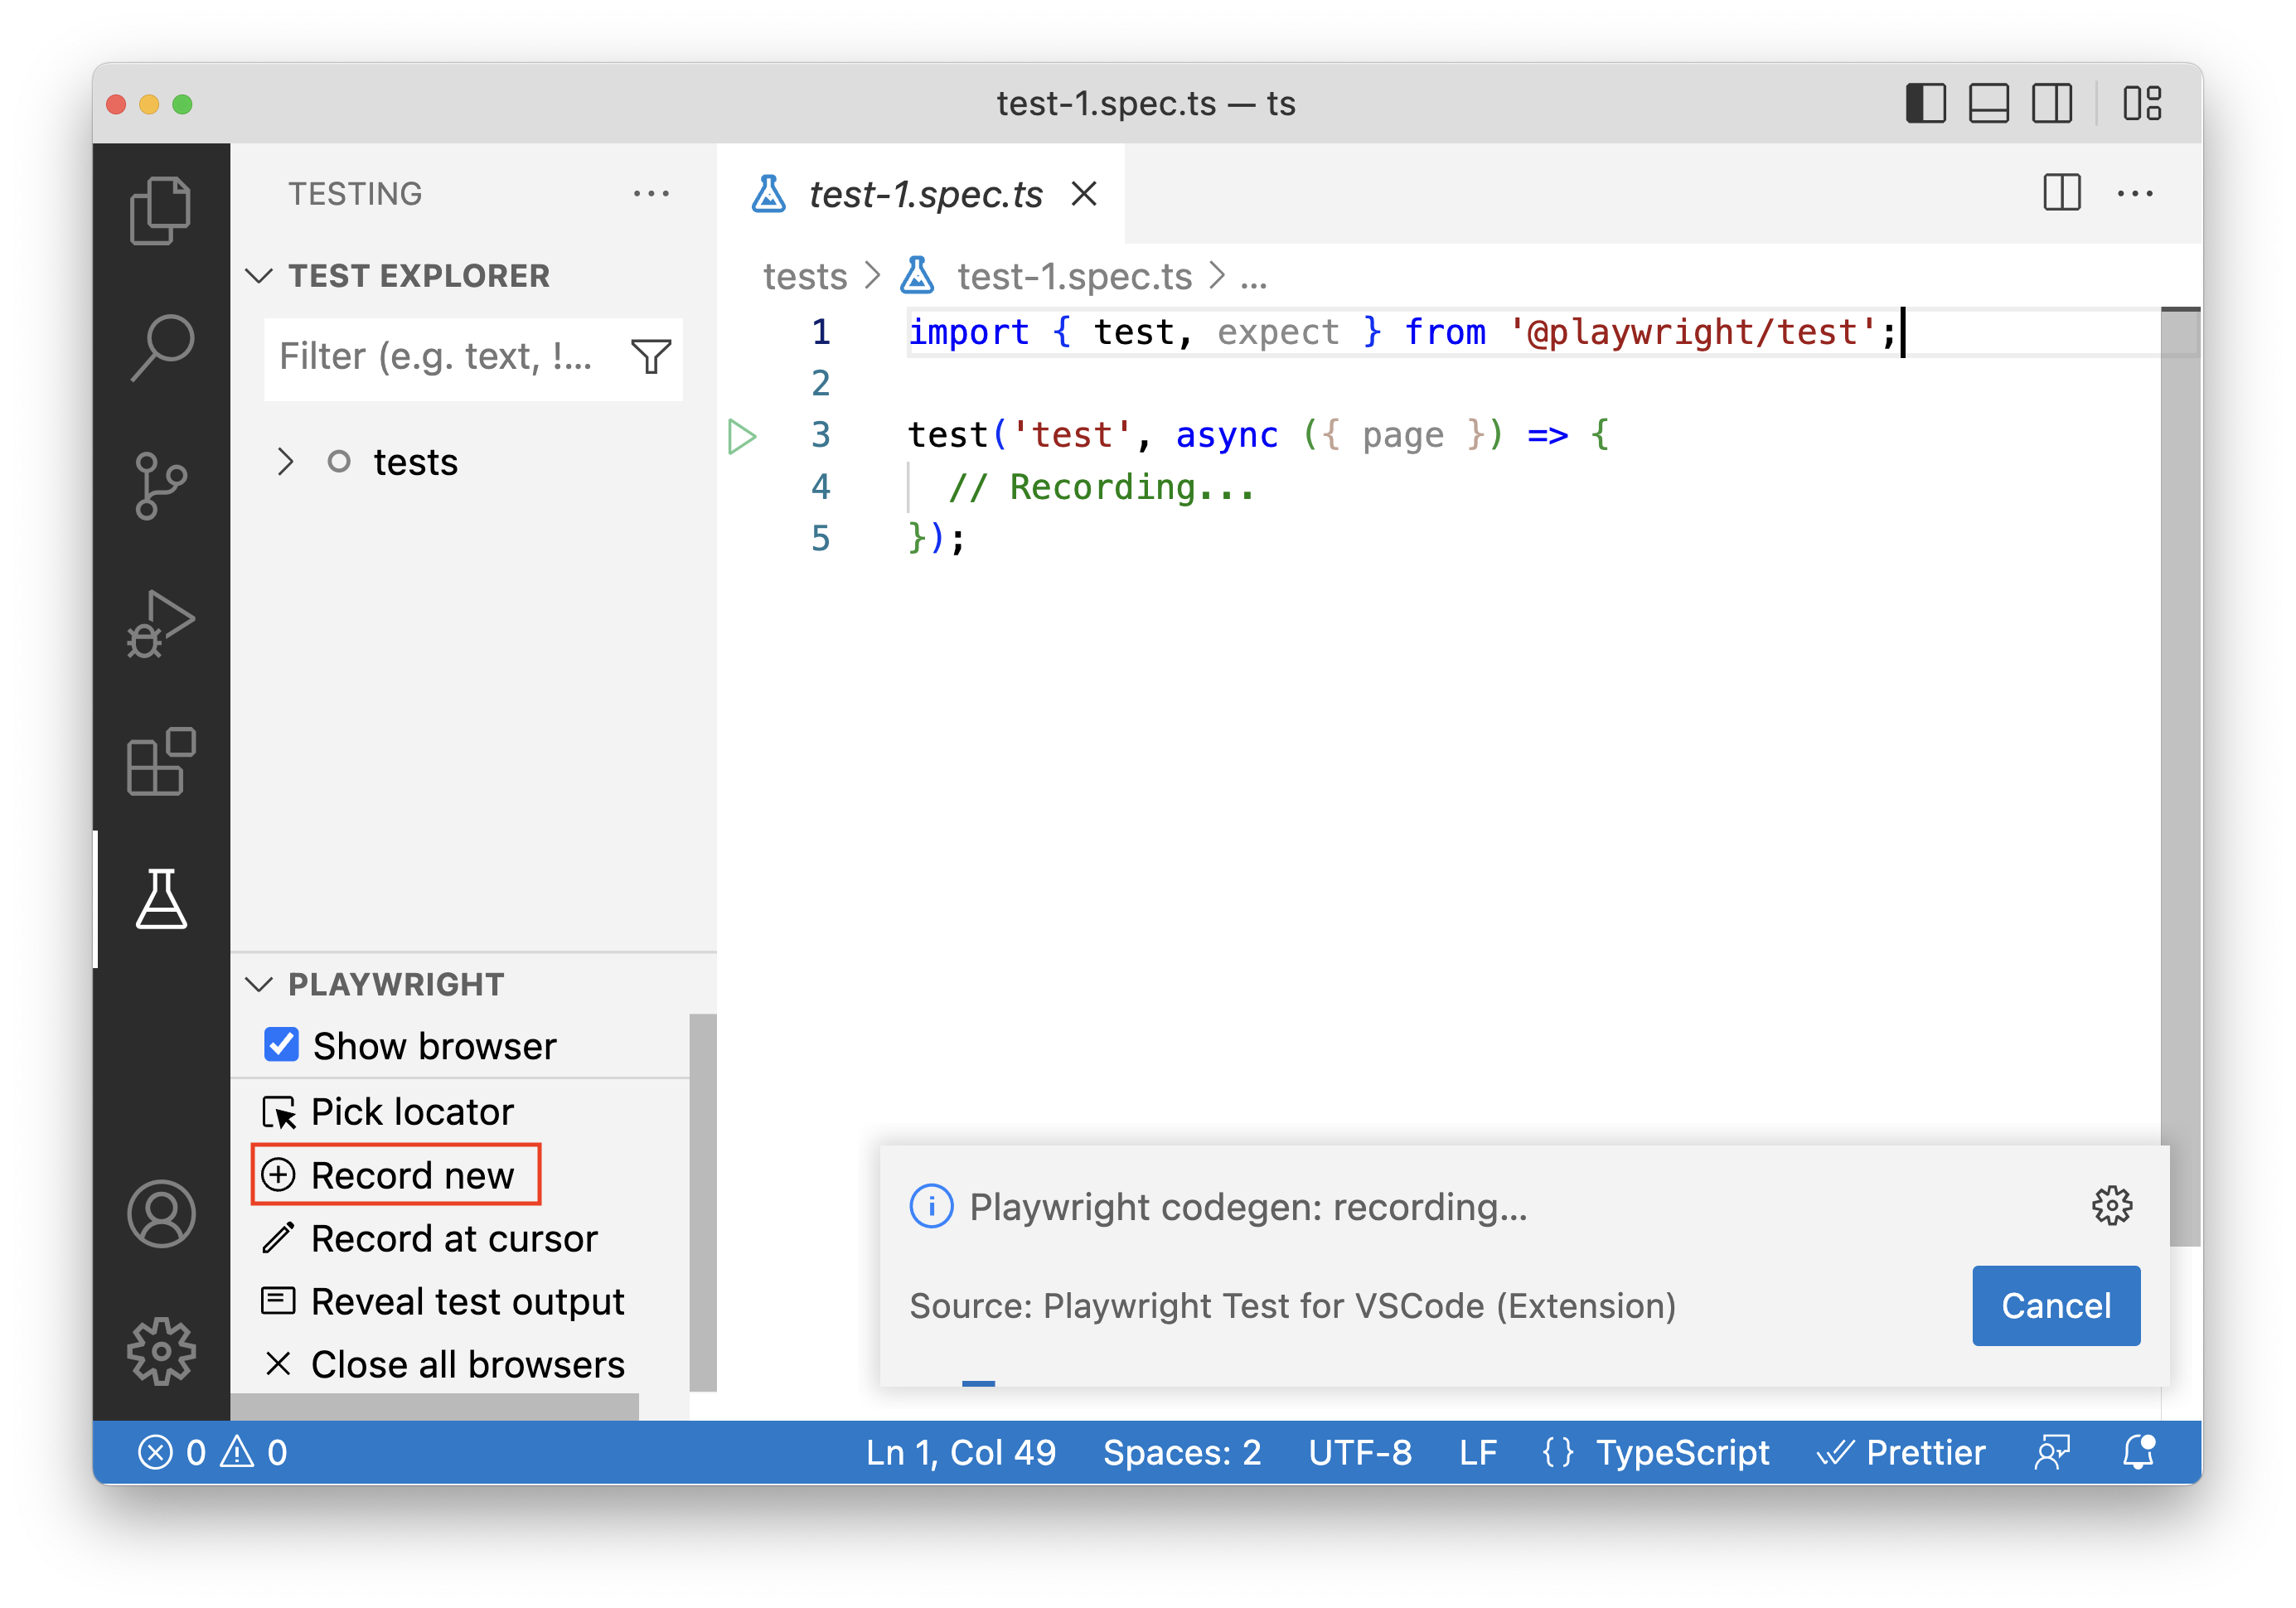
要记录测试,请在测试侧边栏中点击 记录新建 按钮。这将创建一个 test-1.spec.ts 文件,并打开一个浏览器窗口。
🌐 To record a test click on the Record new button from the Testing sidebar. This will create a test-1.spec.ts file as well as open up a browser window.
在浏览器中,转到你要测试的 URL,然后开始单击以记录你的用户操作。
🌐 In the browser go to the URL you wish to test and start clicking around to record your user actions.
Playwright 会记录你的操作,并直接在 VS Code 中生成测试代码。你还可以通过在工具栏中选择一个图标,然后点击页面上的某个元素来生成断言。可以生成以下断言:
🌐 Playwright will record your actions and generate the test code directly in VS Code. You can also generate assertions by choosing one of the icons in the toolbar and then clicking on an element on the page to assert against. The following assertions can be generated:
'assert visibility'用于断言一个元素是可见的'assert text'用于断言一个元素包含特定文本'assert value'用于断言元素具有特定值
录制完成后,点击 取消 按钮或关闭浏览器窗口。然后你可以检查你的 test-1.spec.ts 文件,并在需要时手动进行修改。
🌐 Once you are done recording click the cancel button or close the browser window. You can then inspect your test-1.spec.ts file and manually improve it if needed.
在光标处记录
🌐 Record at Cursor
要从测试中的特定点开始录制,请将光标移动到希望录制更多操作的位置,然后从测试侧边栏点击 在光标处录制 按钮。如果你的浏览器窗口尚未打开,请先勾选“显示浏览器”运行测试,然后再点击 在光标处录制 按钮。
🌐 To record from a specific point in your test move your cursor to where you want to record more actions and then click the Record at cursor button from the Testing sidebar. If your browser window is not already open then first run the test with 'Show browser' checked and then click the Record at cursor button.
在浏览器窗口中开始执行你要记录的操作。
🌐 In the browser window start performing the actions you want to record.
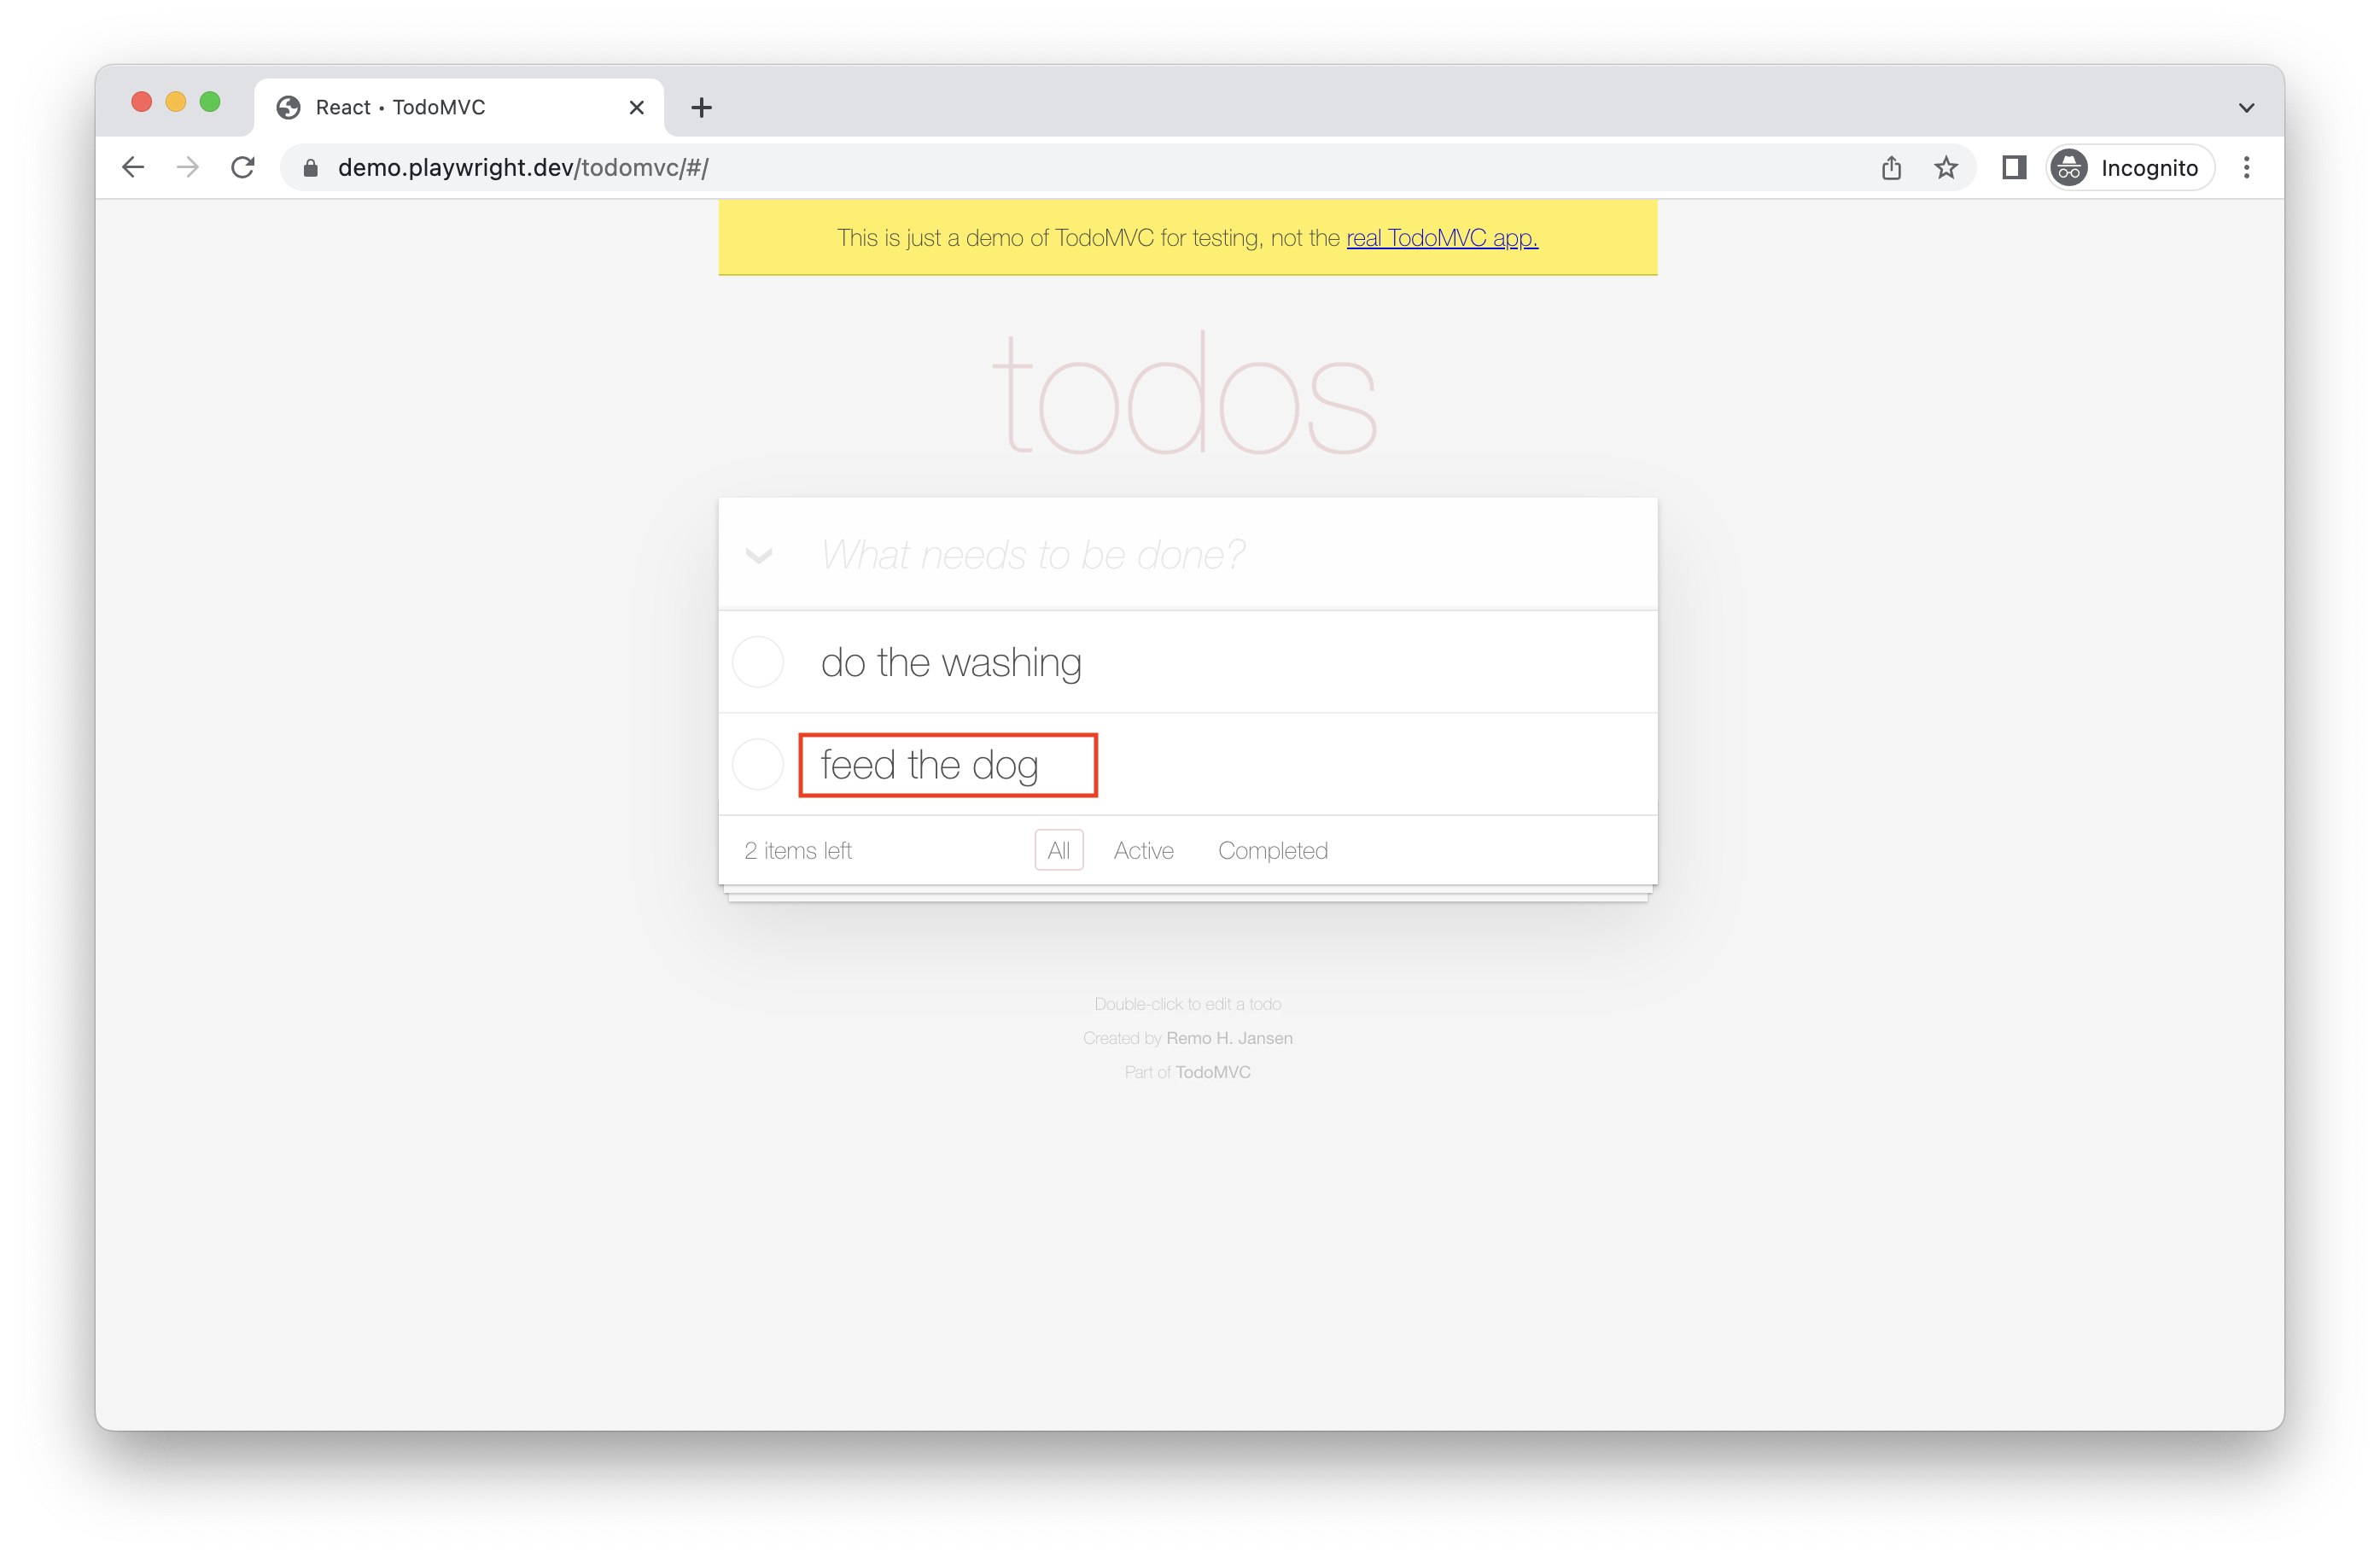
在 VS Code 的测试文件中,你将看到新生成的操作已添加到测试中的光标位置。
🌐 In the test file in VS Code you will see your new generated actions added to your test at the cursor position.
生成定位器
🌐 Generating locators
你可以使用测试生成器生成定位器。
🌐 You can generate locators with the test generator.
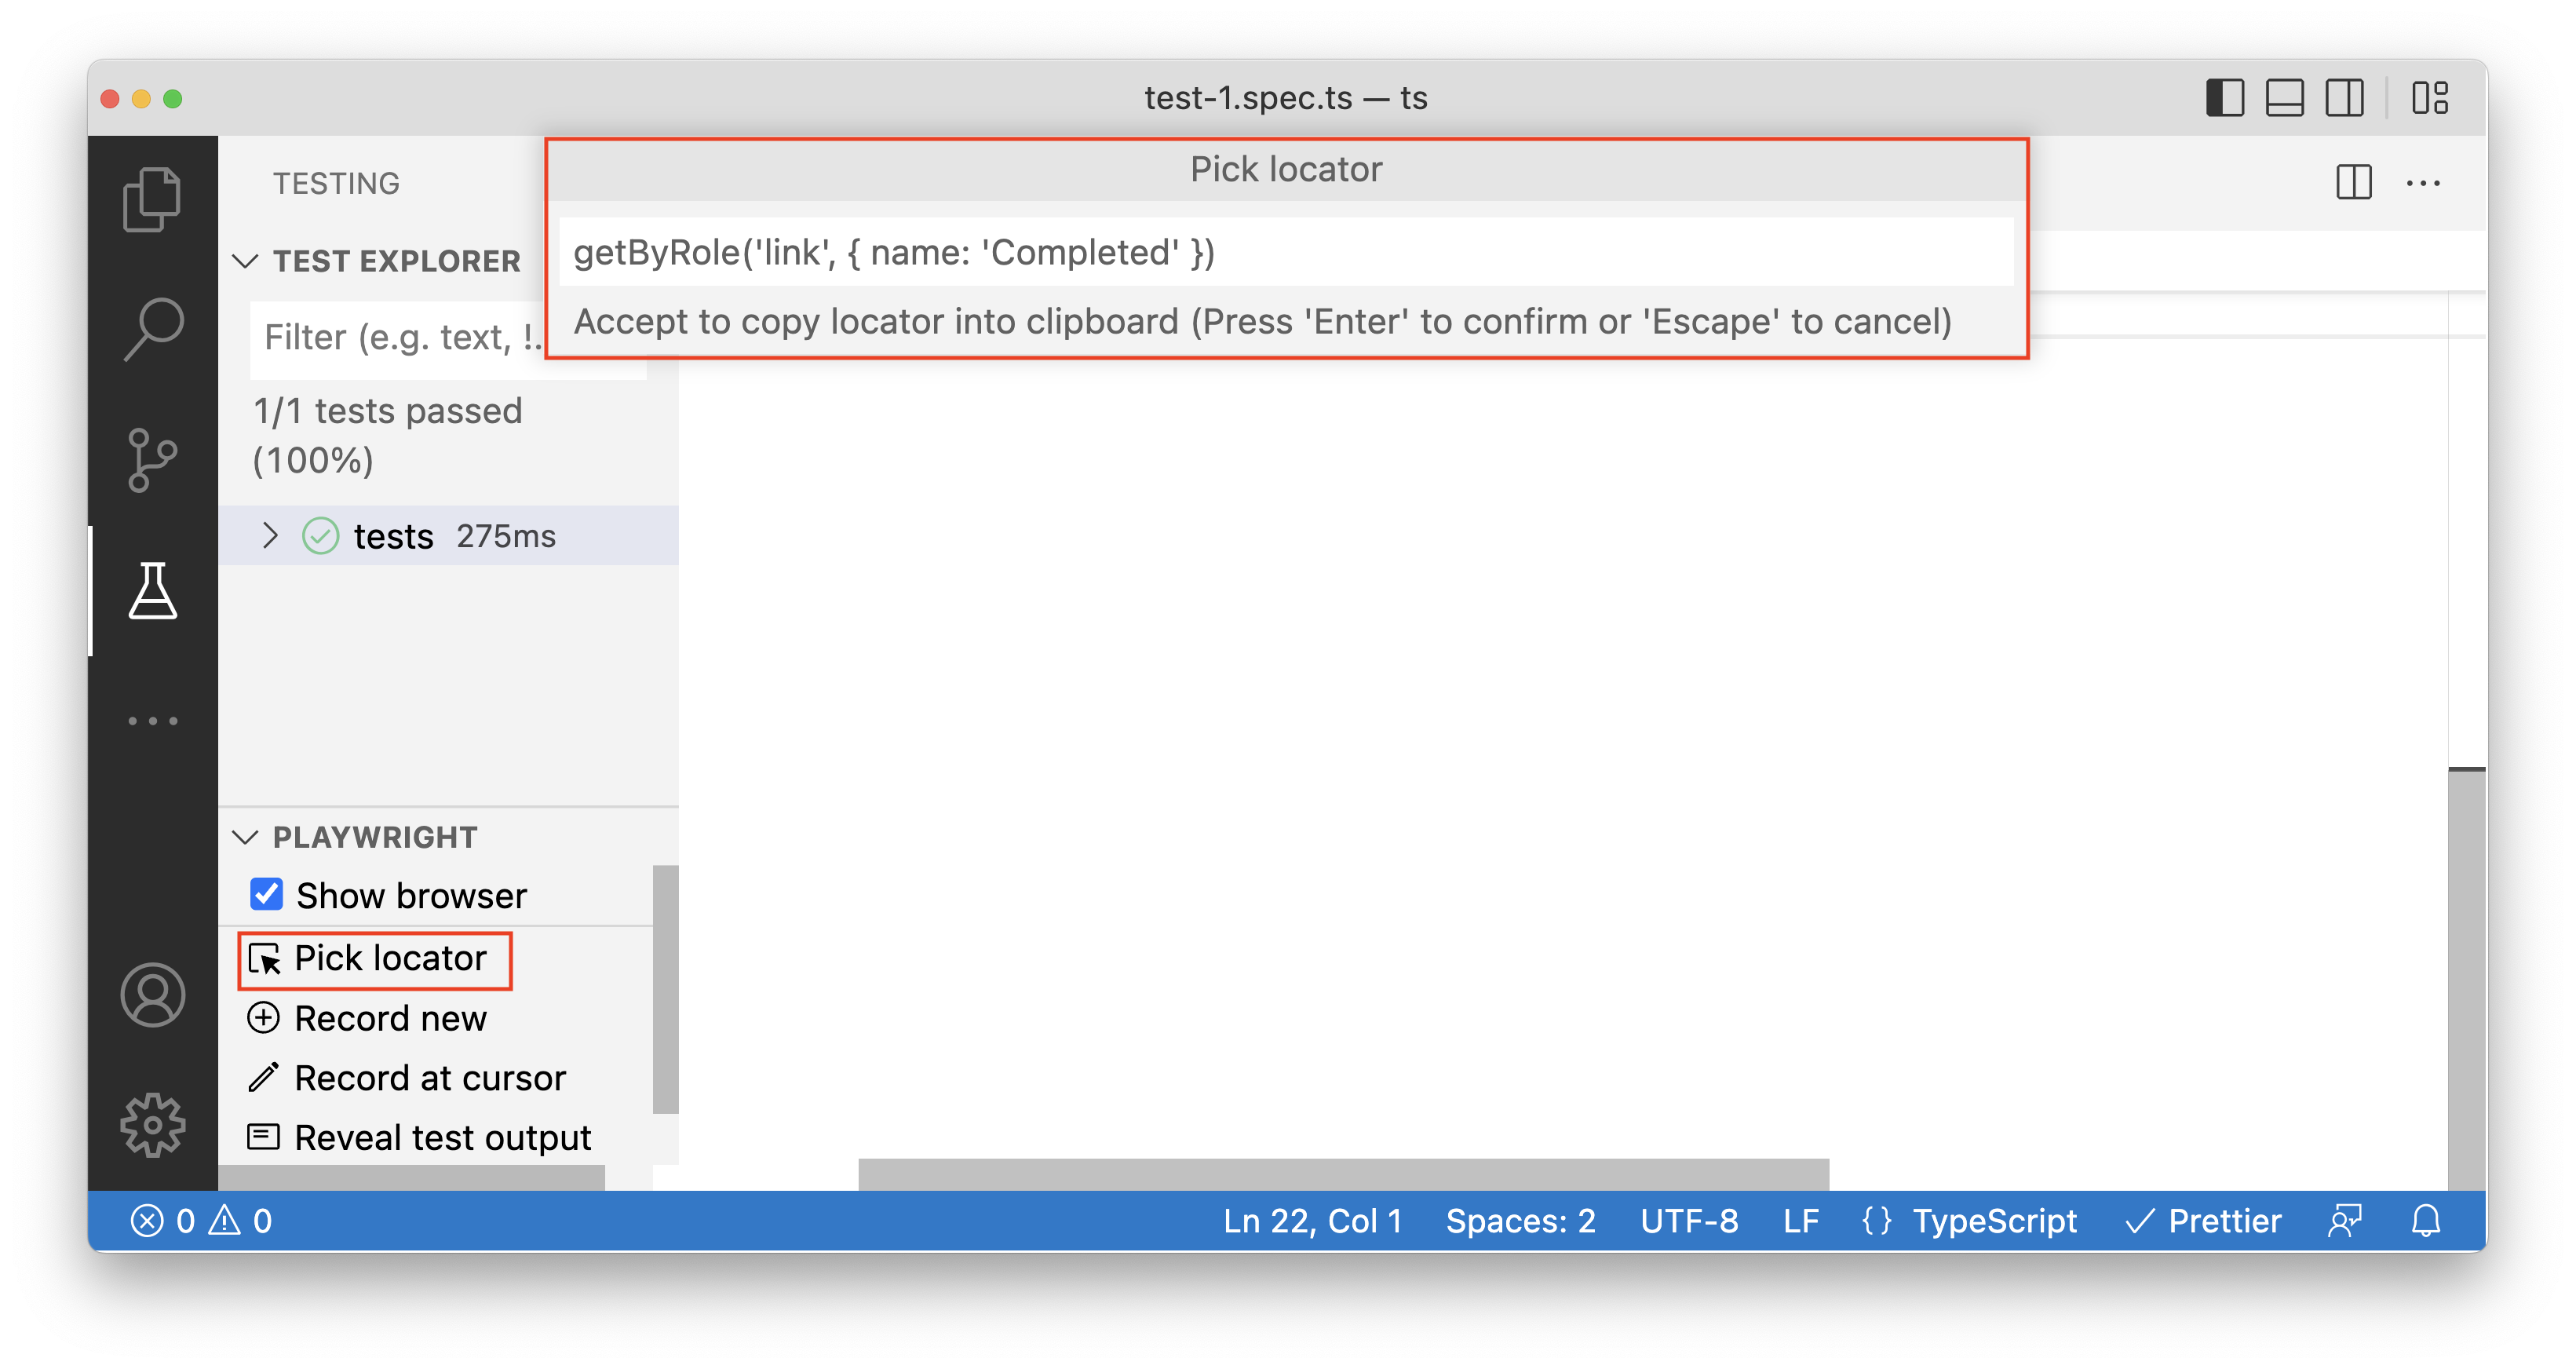
- 在测试侧边栏中点击 Pick locator 按钮,然后将鼠标悬停在浏览器窗口中的元素上,以查看每个元素下方高亮显示的 定位器。
- 点击所需的元素,它现在将显示在 VS Code 的 Pick locator 框中。
- 按下键盘上的 回车键 将定位器复制到剪贴板,然后可以粘贴到代码中的任何位置。或者按 'Esc' 键取消操作。
使用 Playwright 检查器生成测试
🌐 Generate tests with the Playwright Inspector
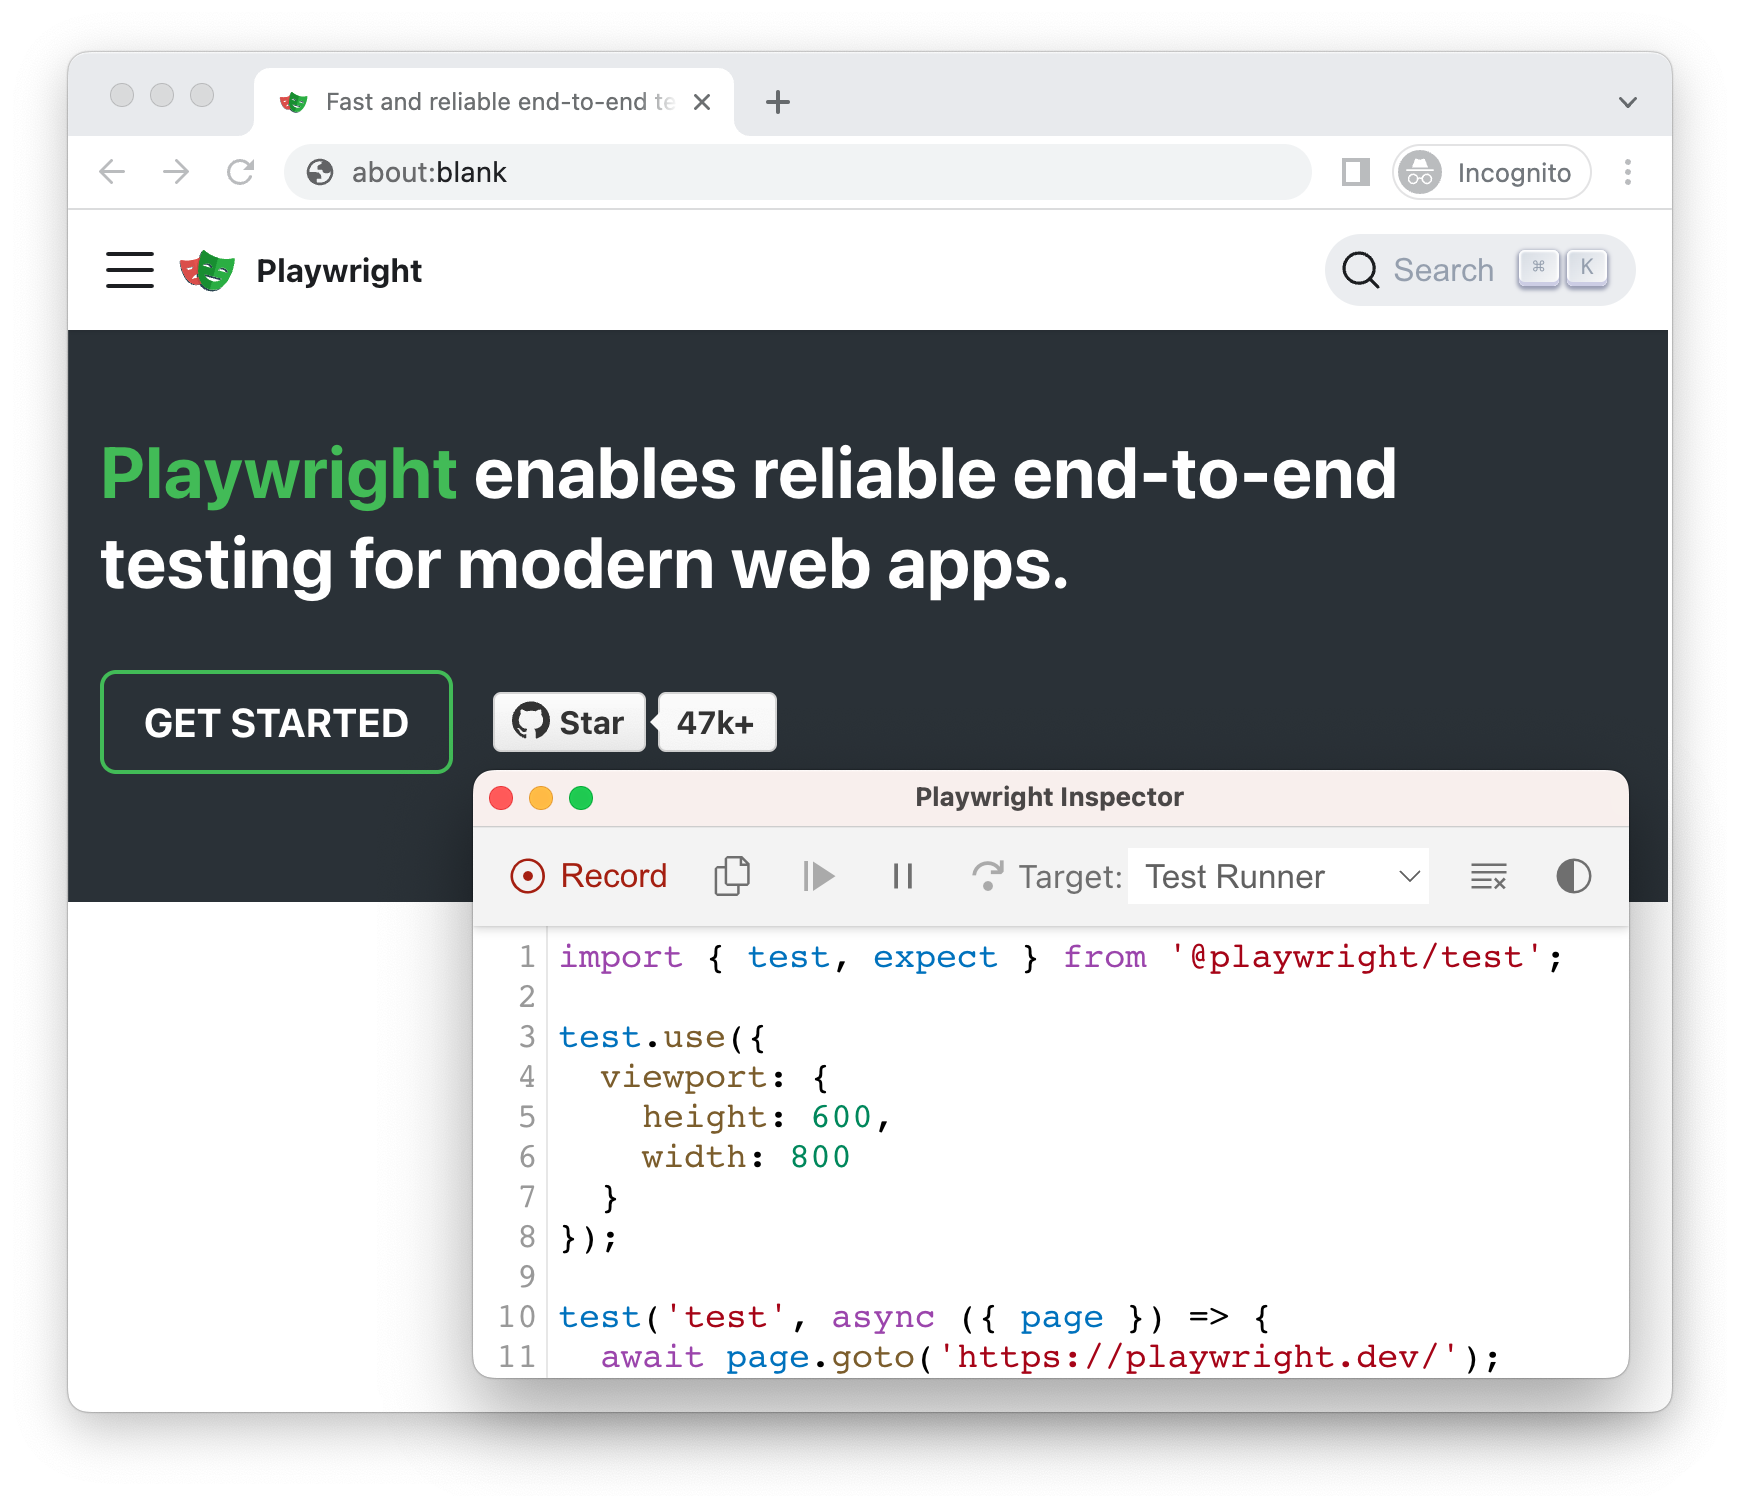
运行 codegen 命令时,会打开两个窗口,一个是浏览器窗口,你可以在其中与希望测试的网站进行交互;另一个是 Playwright Inspector 窗口,你可以在其中录制测试,然后将其复制到你的编辑器中。
🌐 When running the codegen command two windows will be opened, a browser window where you interact with the website you wish to test and the Playwright Inspector window where you can record your tests and then copy them into your editor.
运行代码生成器
🌐 Running Codegen
使用 codegen 命令运行测试生成器,然后输入你想为其生成测试的网站的 URL。URL 是可选的,你也可以在没有 URL 的情况下运行命令,然后直接将 URL 添加到浏览器窗口中。
🌐 Use the codegen command to run the test generator followed by the URL of the website you want to generate tests for. The URL is optional and you can always run the command without it and then add the URL directly into the browser window instead.
npx playwright codegen demo.playwright.dev/todomvc
记录测试
🌐 Recording a test
运行 codegen 命令并在浏览器窗口中执行操作。Playwright 将为用户交互生成代码,你可以在 Playwright 检查器窗口中查看。一旦录制测试完成,停止录制并按 复制 按钮将生成的测试代码复制到你的编辑器中。
🌐 Run the codegen command and perform actions in the browser window. Playwright will generate the code for the user interactions which you can see in the Playwright Inspector window. Once you have finished recording your test stop the recording and press the copy button to copy your generated test into your editor.
使用测试生成器,你可以记录:
🌐 With the test generator you can record:
- 只需与页面交互即可执行点击或填充等操作
- 通过点击工具栏中的某个图标,然后点击页面上的元素进行断言。你可以选择:
'assert visibility'用于断言一个元素是可见的'assert text'用于断言一个元素包含特定文本'assert value'用于断言元素具有特定值
当你完成与页面的交互后,按下 录制 按钮停止录制,然后使用 复制 按钮将生成的代码复制到你的编辑器中。
使用 清除 按钮清除代码以重新开始录制。完成后,关闭 Playwright 检查器窗口或停止终端命令。
🌐 Use the clear button to clear the code to start recording again. Once finished, close the Playwright inspector window or stop the terminal command.
生成定位器
🌐 Generating locators
你可以使用测试生成器生成定位器。
🌐 You can generate locators with the test generator.
- 按下
'Record'按钮停止录音,'Pick Locator'按钮将会出现。 - 点击
'Pick Locator'按钮,然后将鼠标悬停在浏览器窗口中的元素上,以查看每个元素下方的定位器高亮显示。 - 要选择定位器,请单击要定位的元素,该定位器的代码将显示在“选择定位器”按钮旁边的字段中。
- 然后,你可以在此字段中编辑定位器以对其进行微调,或使用复制按钮将其复制并粘贴到代码中。
模拟
🌐 Emulation
你可以使用测试生成器通过模拟来生成测试,以便为特定的视口、设备、配色方案生成测试,同时还可以模拟地理位置、语言或时区。测试生成器还可以在保留已认证状态的情况下生成测试。
🌐 You can use the test generator to generate tests using emulation so as to generate a test for a specific viewport, device, color scheme, as well as emulate the geolocation, language or timezone. The test generator can also generate a test while preserving authenticated state.
模拟视口大小
🌐 Emulate viewport size
Playwright 会打开一个浏览器窗口,其视口设置为特定的宽度和高度,并且不会响应,因为测试需要在相同条件下进行。使用 --viewport 选项可以生成具有不同视口尺寸的测试。
🌐 Playwright opens a browser window with its viewport set to a specific width and height and is not responsive as tests need to be run under the same conditions. Use the --viewport option to generate tests with a different viewport size.
npx playwright codegen --viewport-size="800,600" playwright.dev
模拟设备
🌐 Emulate devices
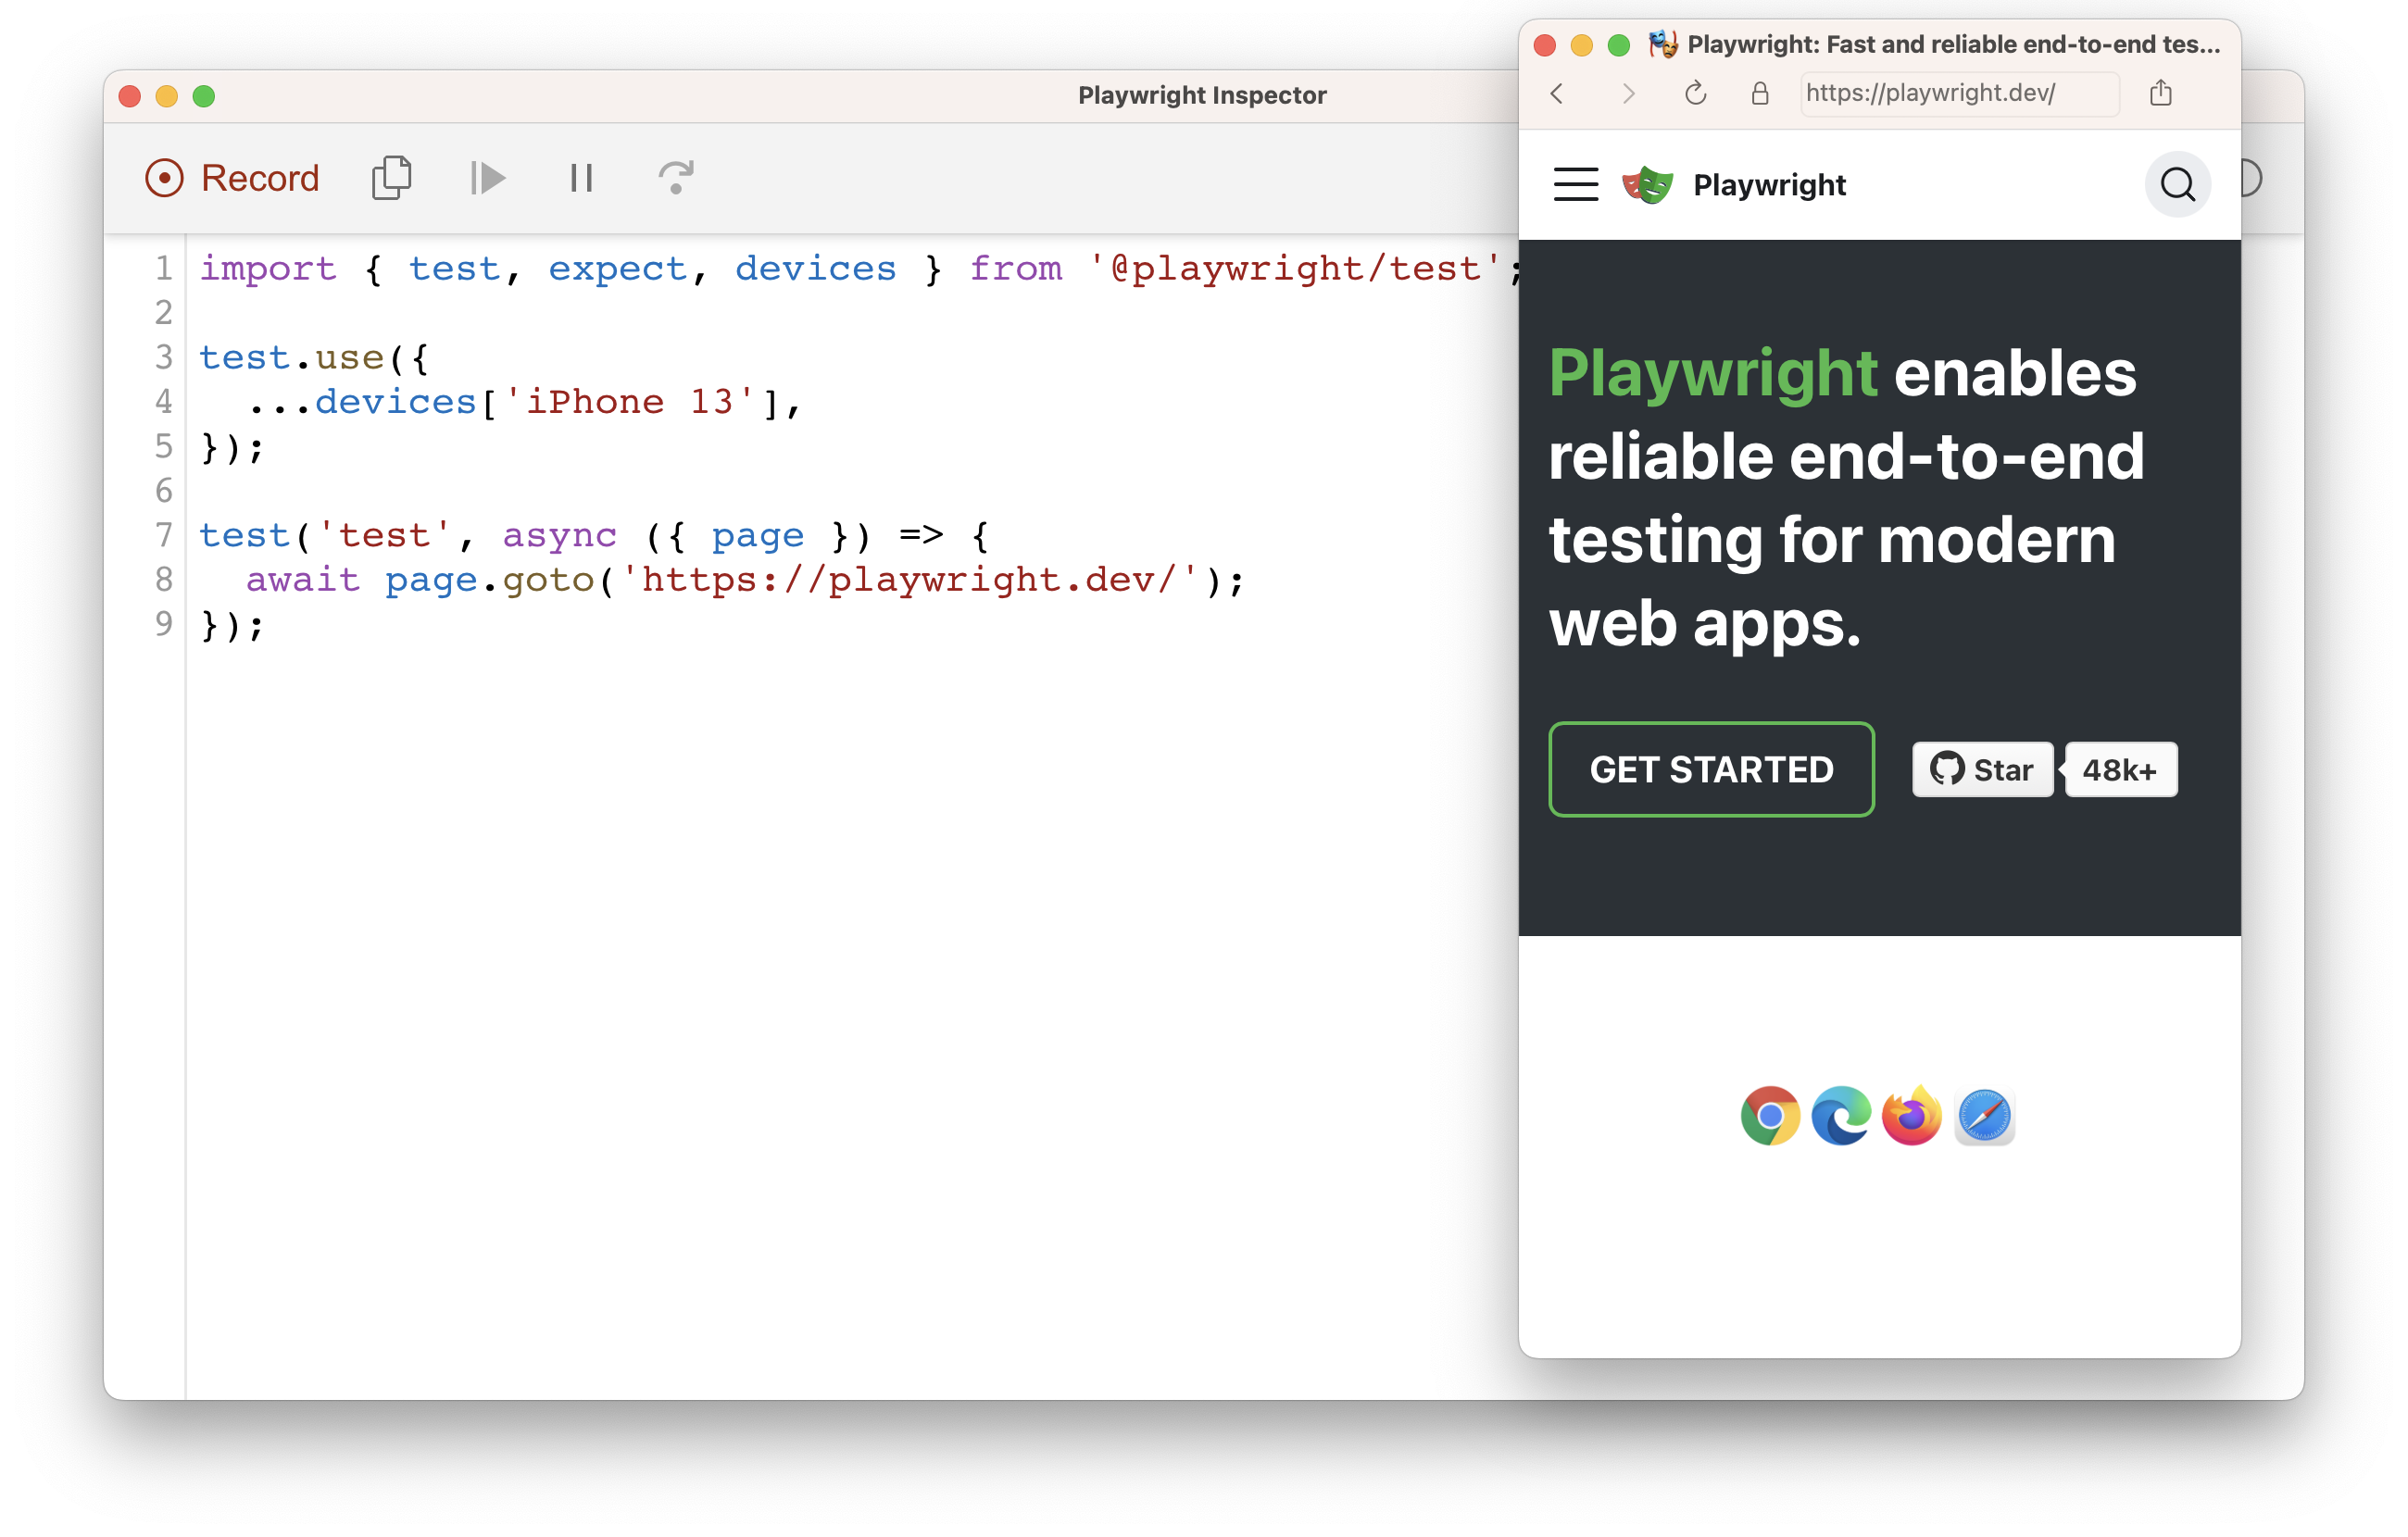
使用 --device 选项记录脚本和测试以模拟移动设备,该选项可设置视口大小和用户代理等参数。
🌐 Record scripts and tests while emulating a mobile device using the --device option which sets the viewport size and user agent among others.
npx playwright codegen --device="iPhone 13" playwright.dev
模拟配色方案
🌐 Emulate color scheme
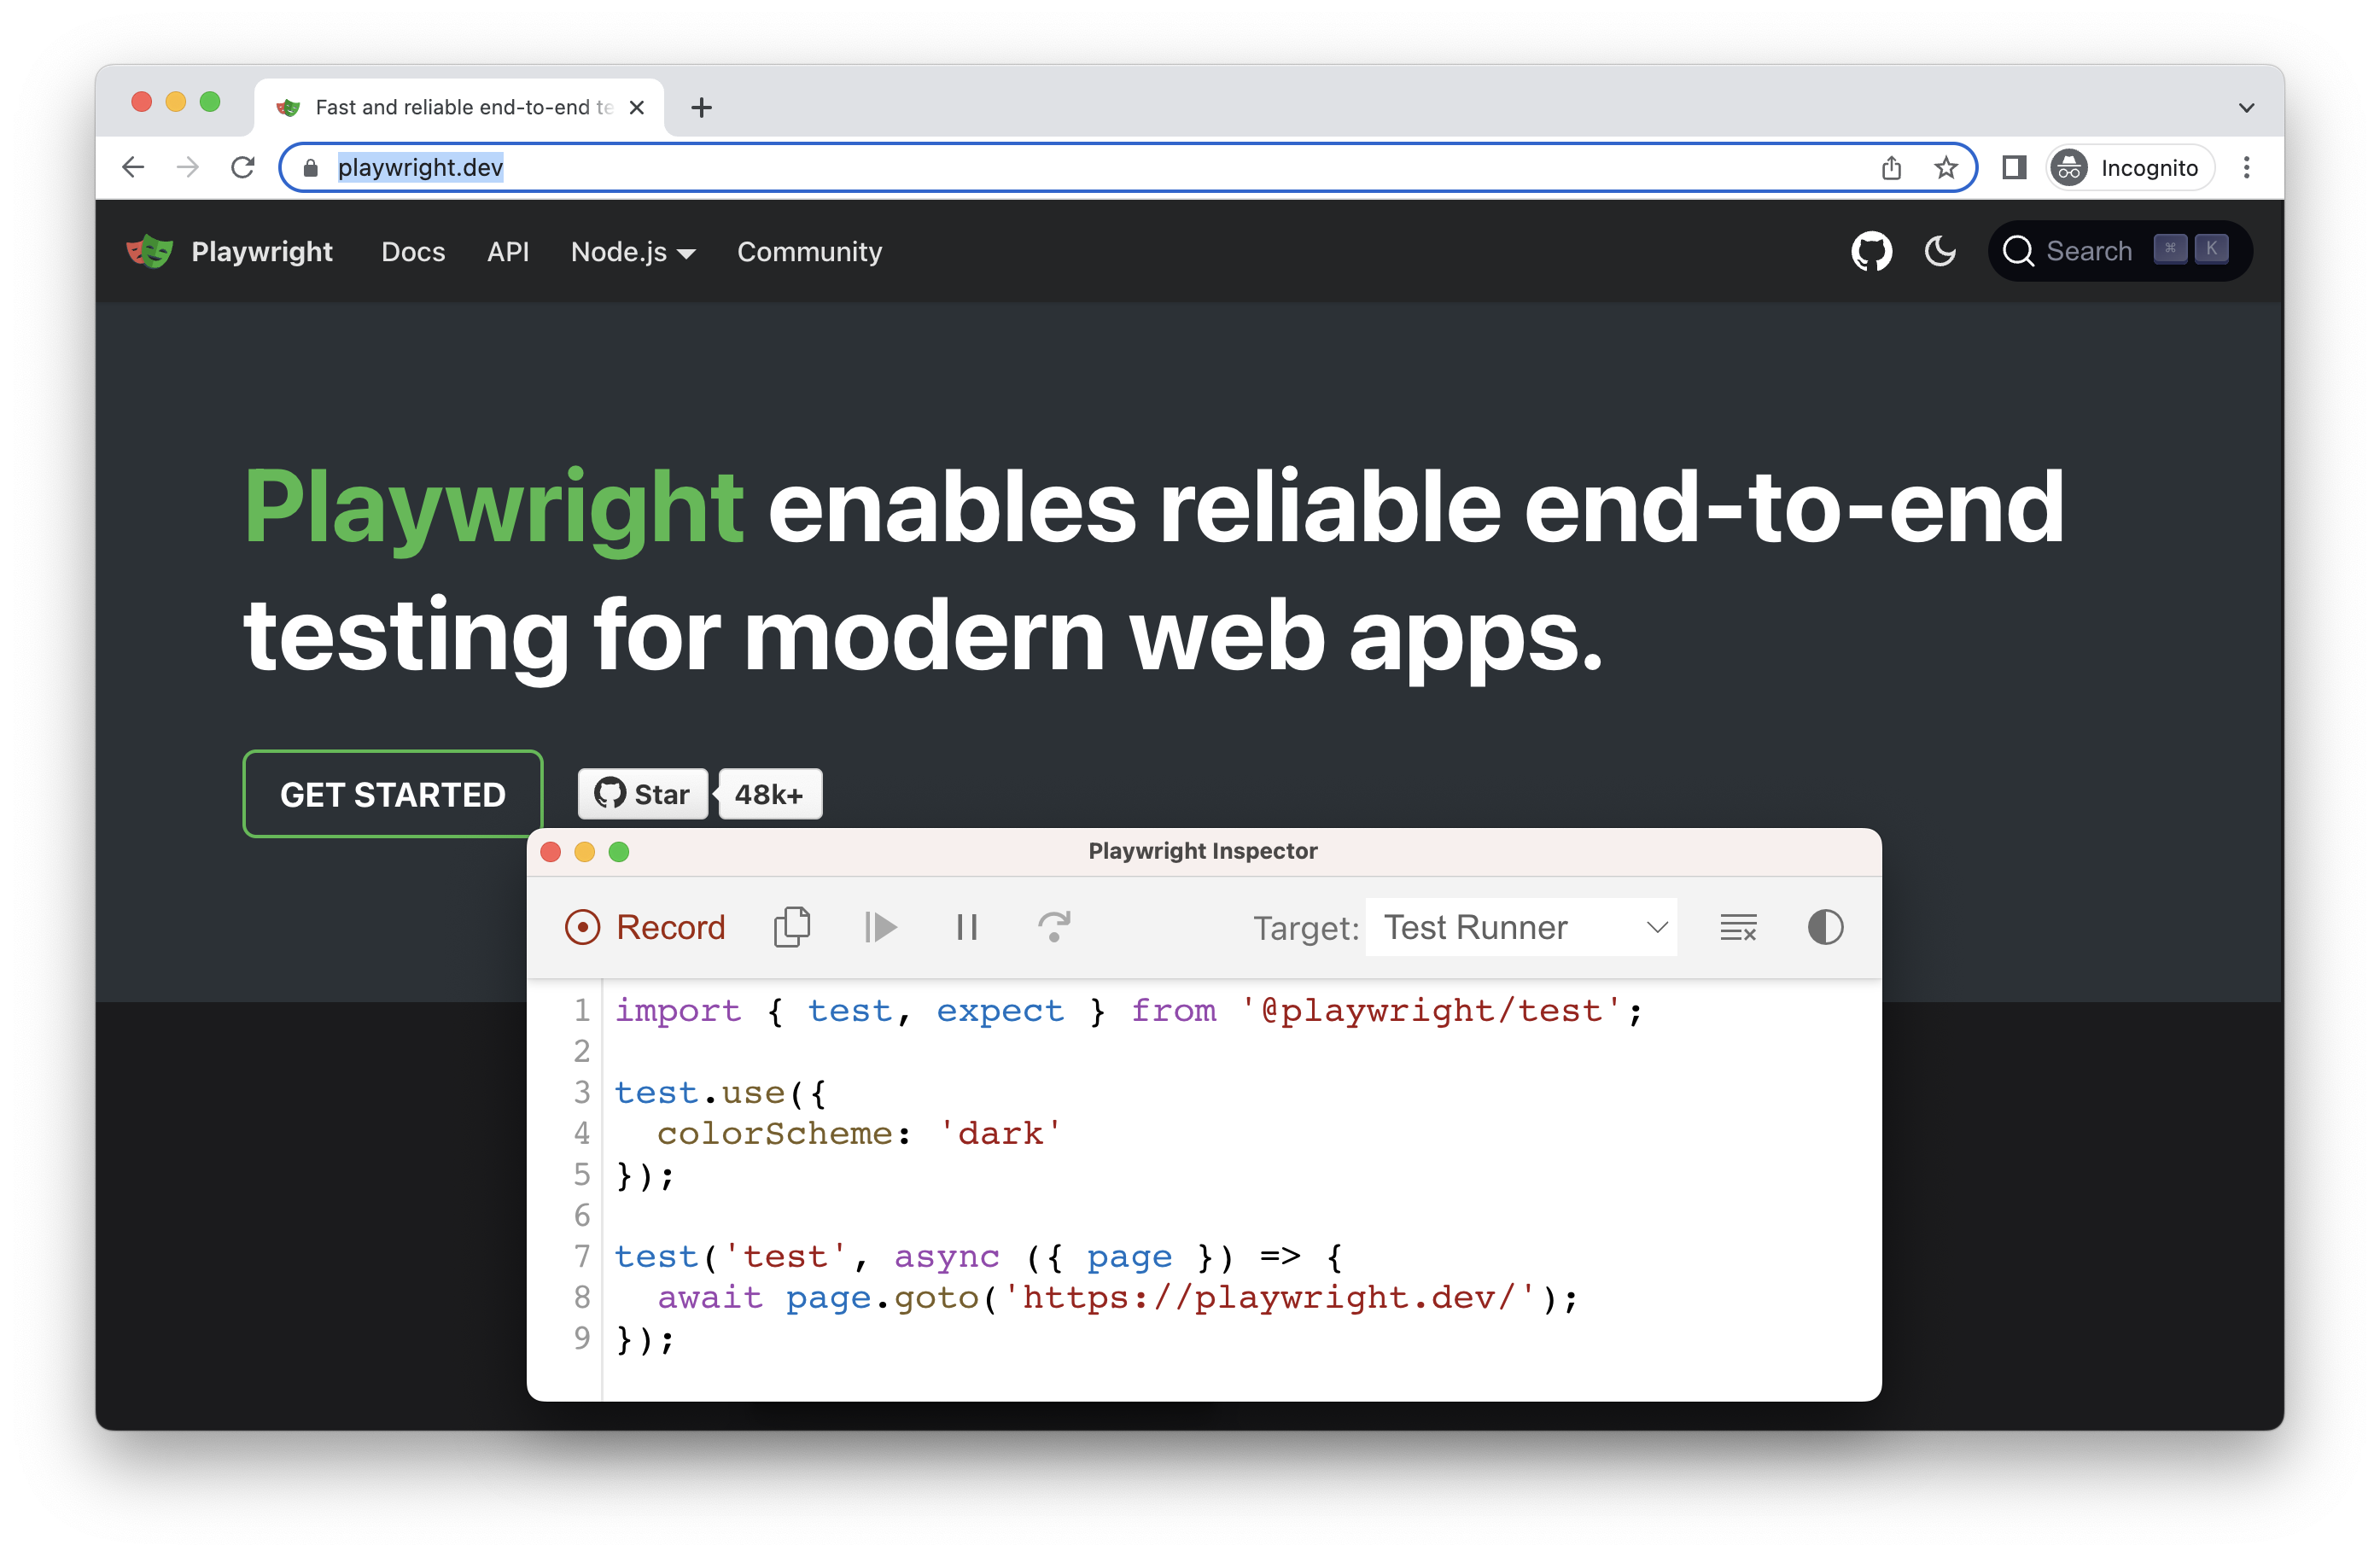
在使用 --color-scheme 选项模拟配色方案的同时记录脚本和测试。
🌐 Record scripts and tests while emulating the color scheme with the --color-scheme option.
npx playwright codegen --color-scheme=dark playwright.dev
模拟地理位置、语言和时区
🌐 Emulate geolocation, language and timezone
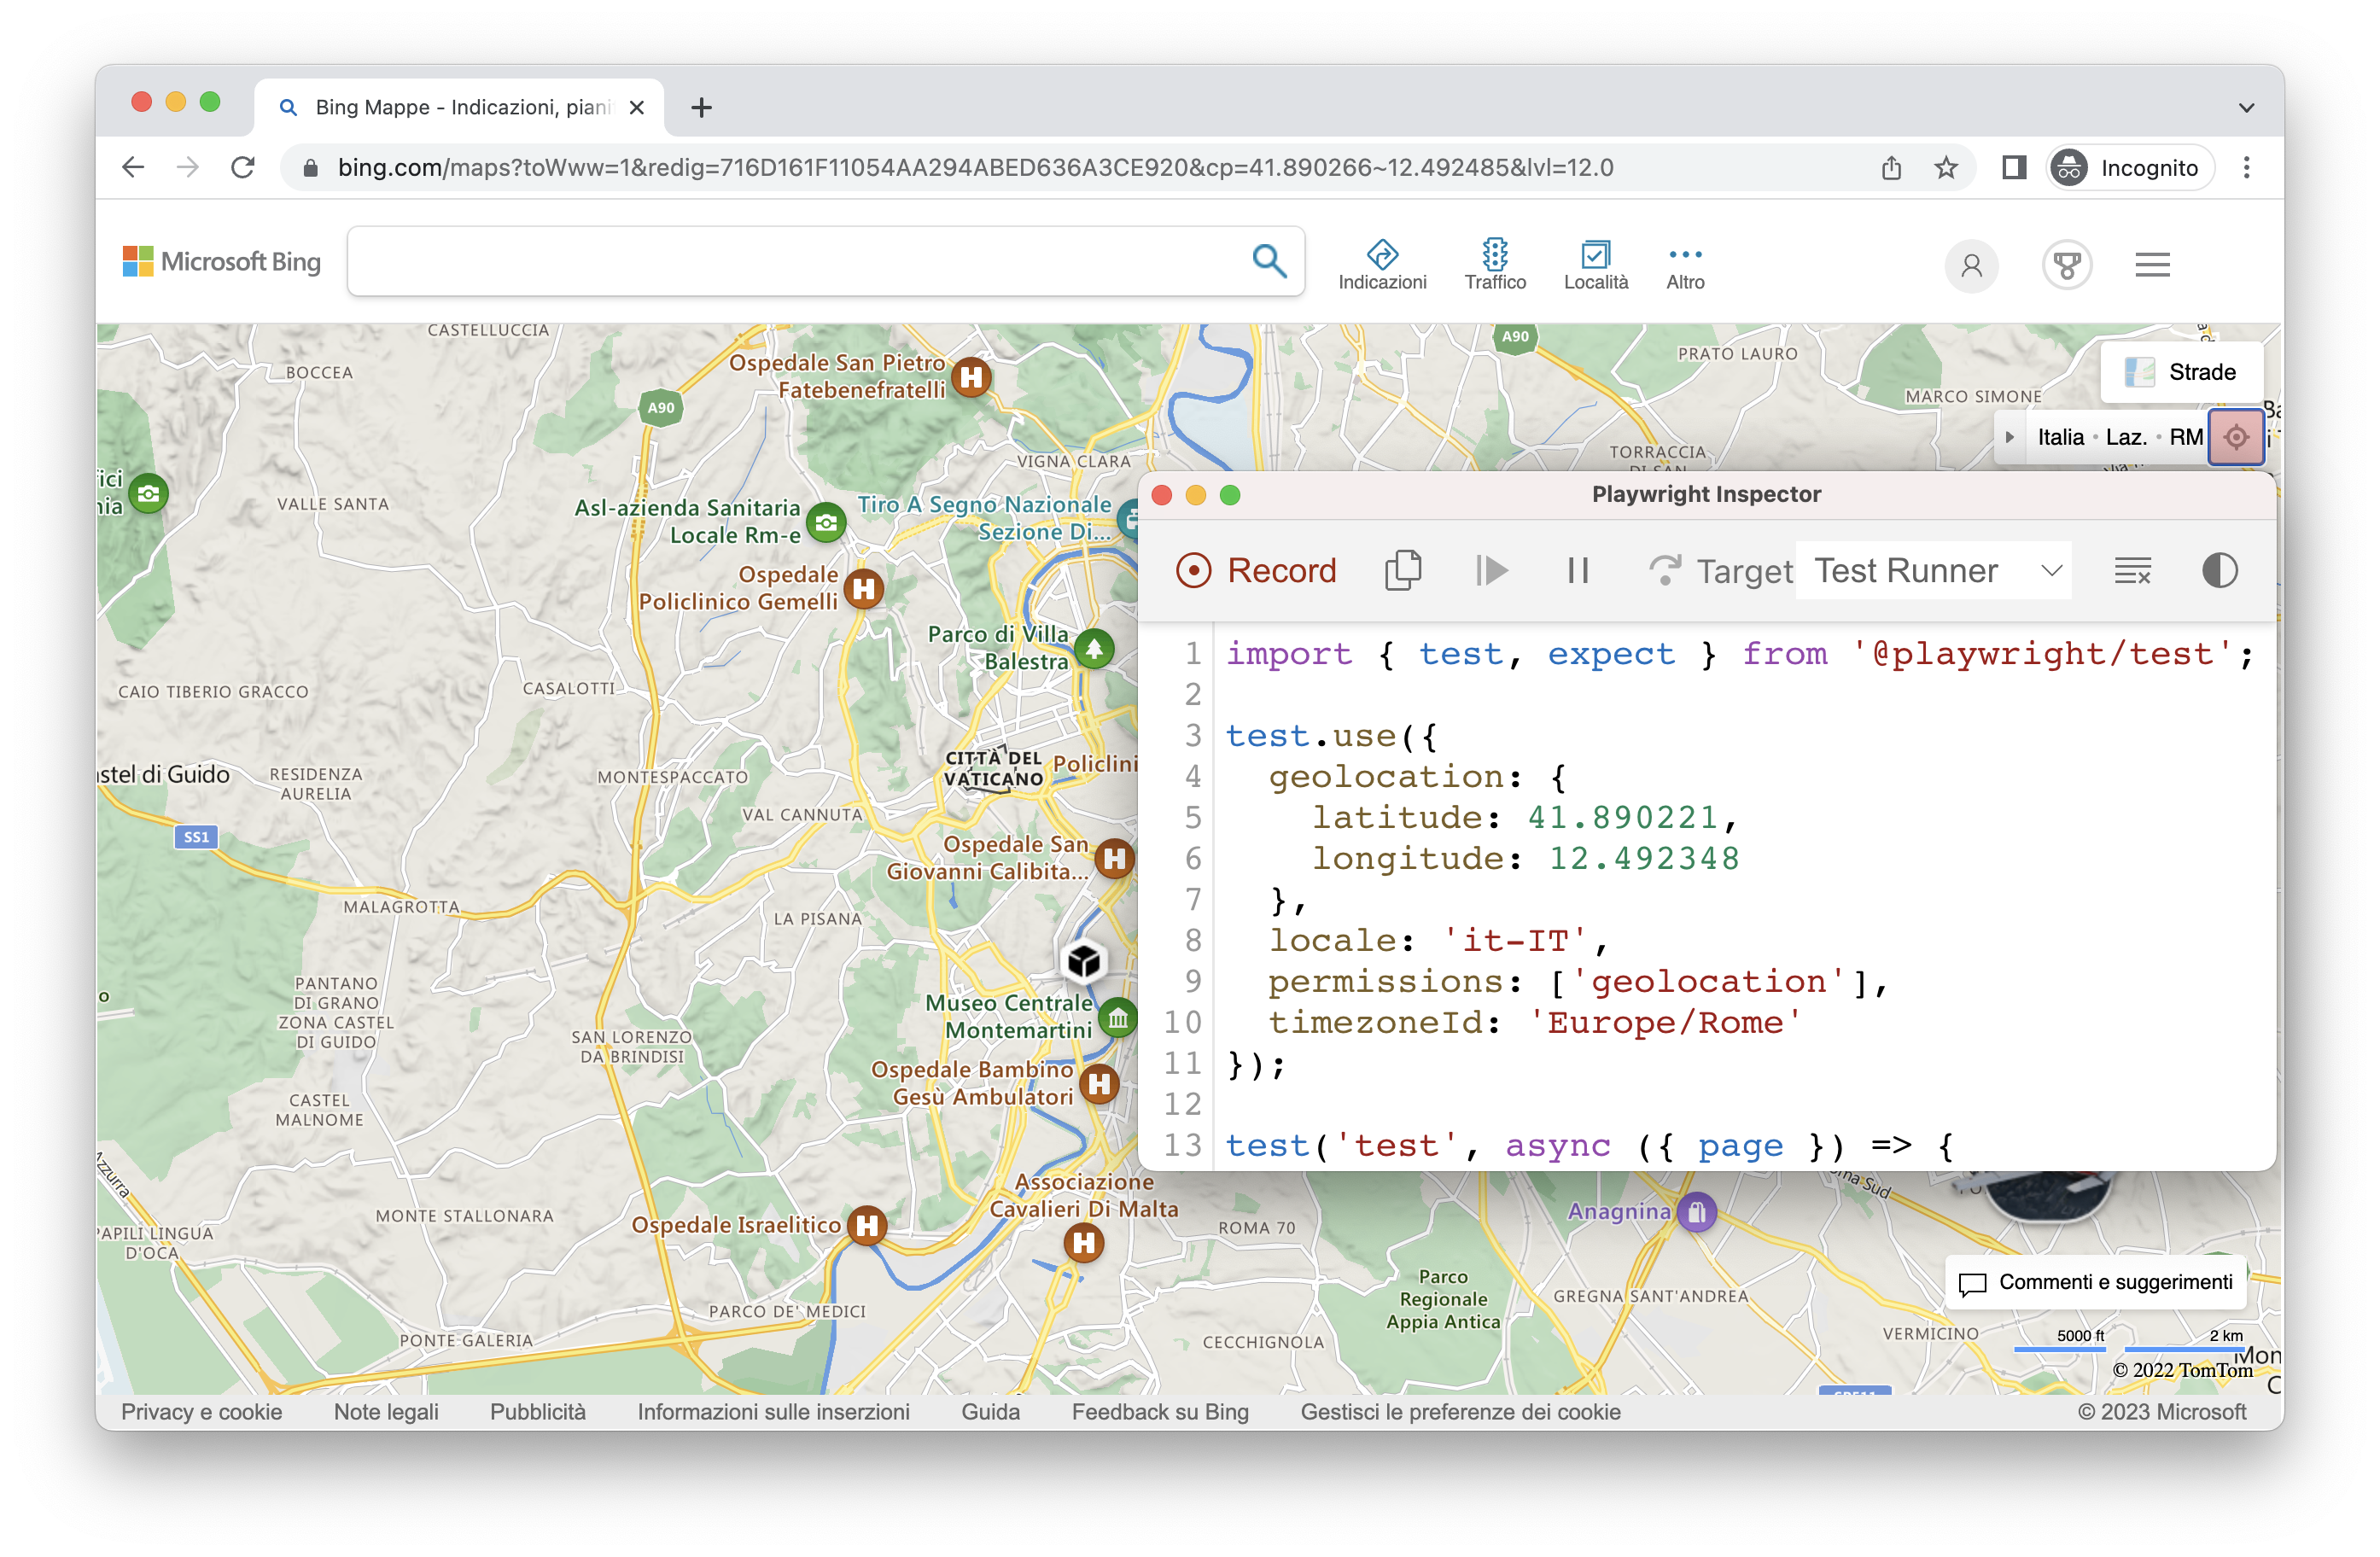
使用 --timezone、--geolocation 和 --lang 选项在模拟时区、语言和位置的同时记录脚本和测试。页面打开后:
🌐 Record scripts and tests while emulating timezone, language & location using the --timezone, --geolocation and --lang options. Once the page opens:
- 接受 cookies
- 在右上角,单击“定位我”按钮以查看实际的地理位置。
npx playwright codegen --timezone="Europe/Rome" --geolocation="41.890221,12.492348" --lang="it-IT" bing.com/maps
保留经过身份验证的状态
🌐 Preserve authenticated state
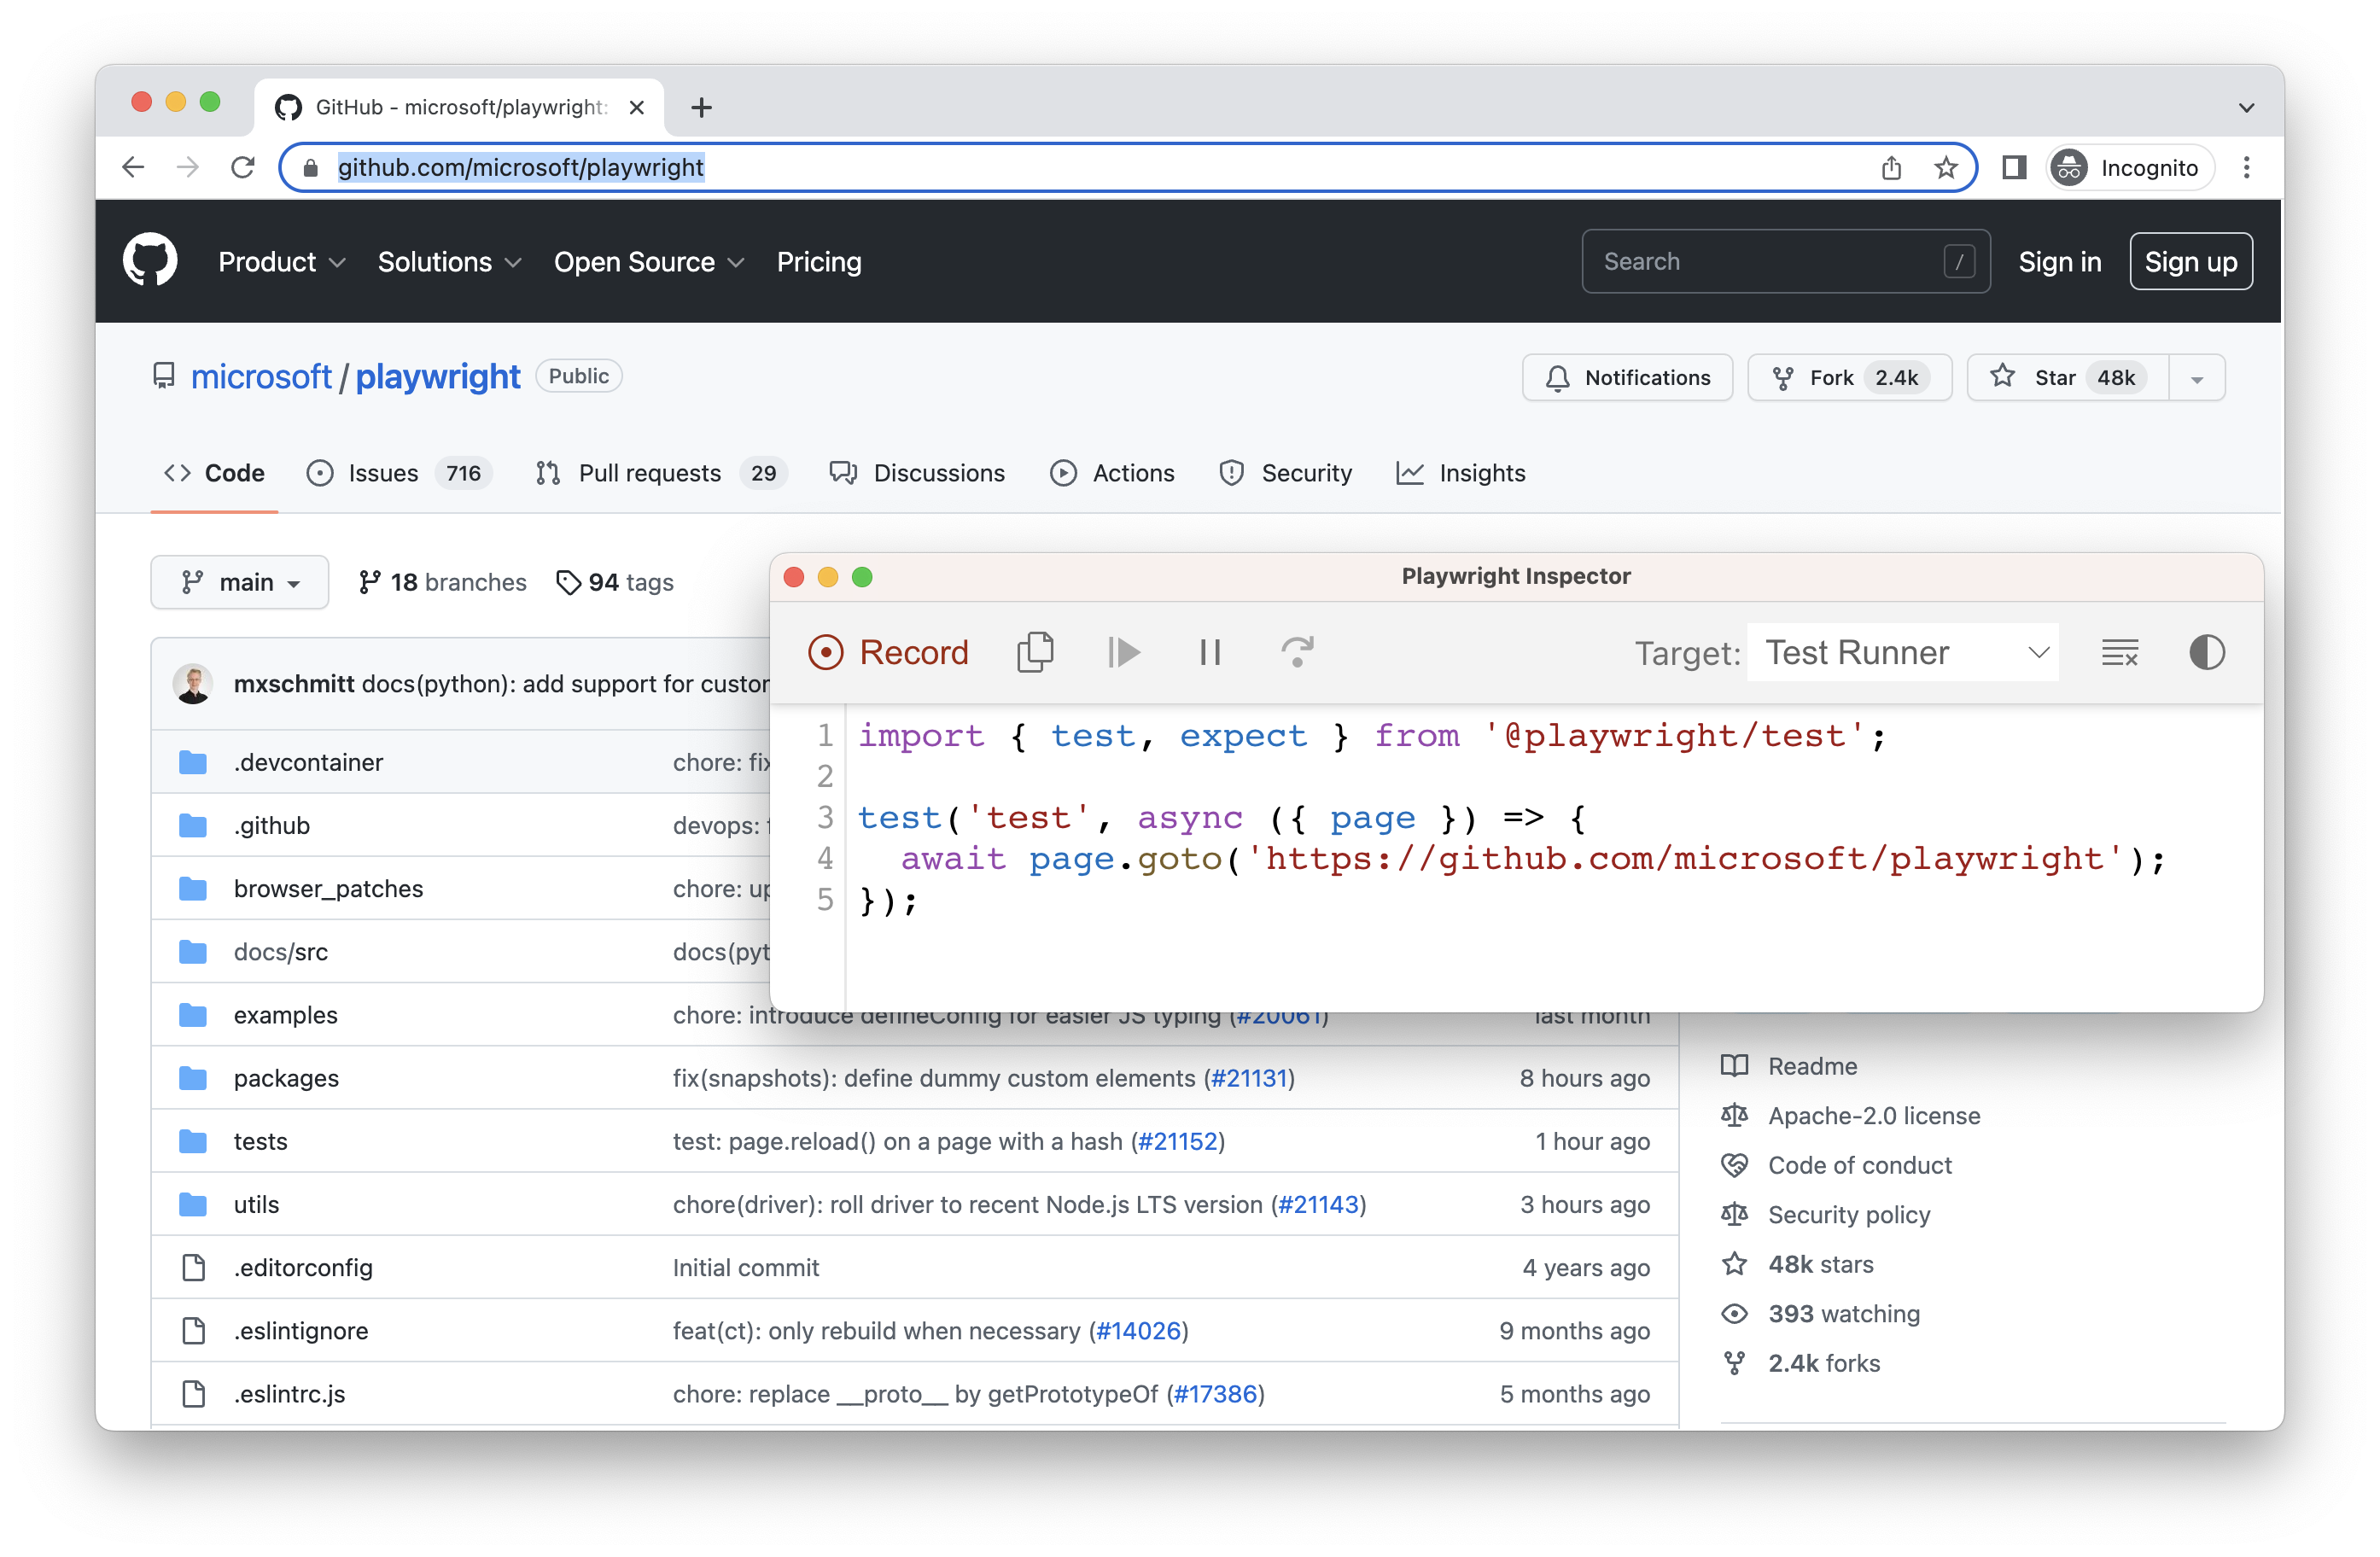
运行 codegen 并使用 --save-storage 来保存会话结束时的 cookies、localStorage 和 IndexedDB 数据。这对于单独记录身份验证步骤并在以后记录更多测试时重新使用非常有用。
🌐 Run codegen with --save-storage to save cookies, localStorage and IndexedDB data at the end of the session. This is useful to separately record an authentication step and reuse it later when recording more tests.
npx playwright codegen github.com/microsoft/playwright --save-storage=auth.json
登录
🌐 Login
在进行身份验证并关闭浏览器后,auth.json 将包含存储状态,你可以在测试中重复使用它。
🌐 After performing authentication and closing the browser, auth.json will contain the storage state which you can then reuse in your tests.
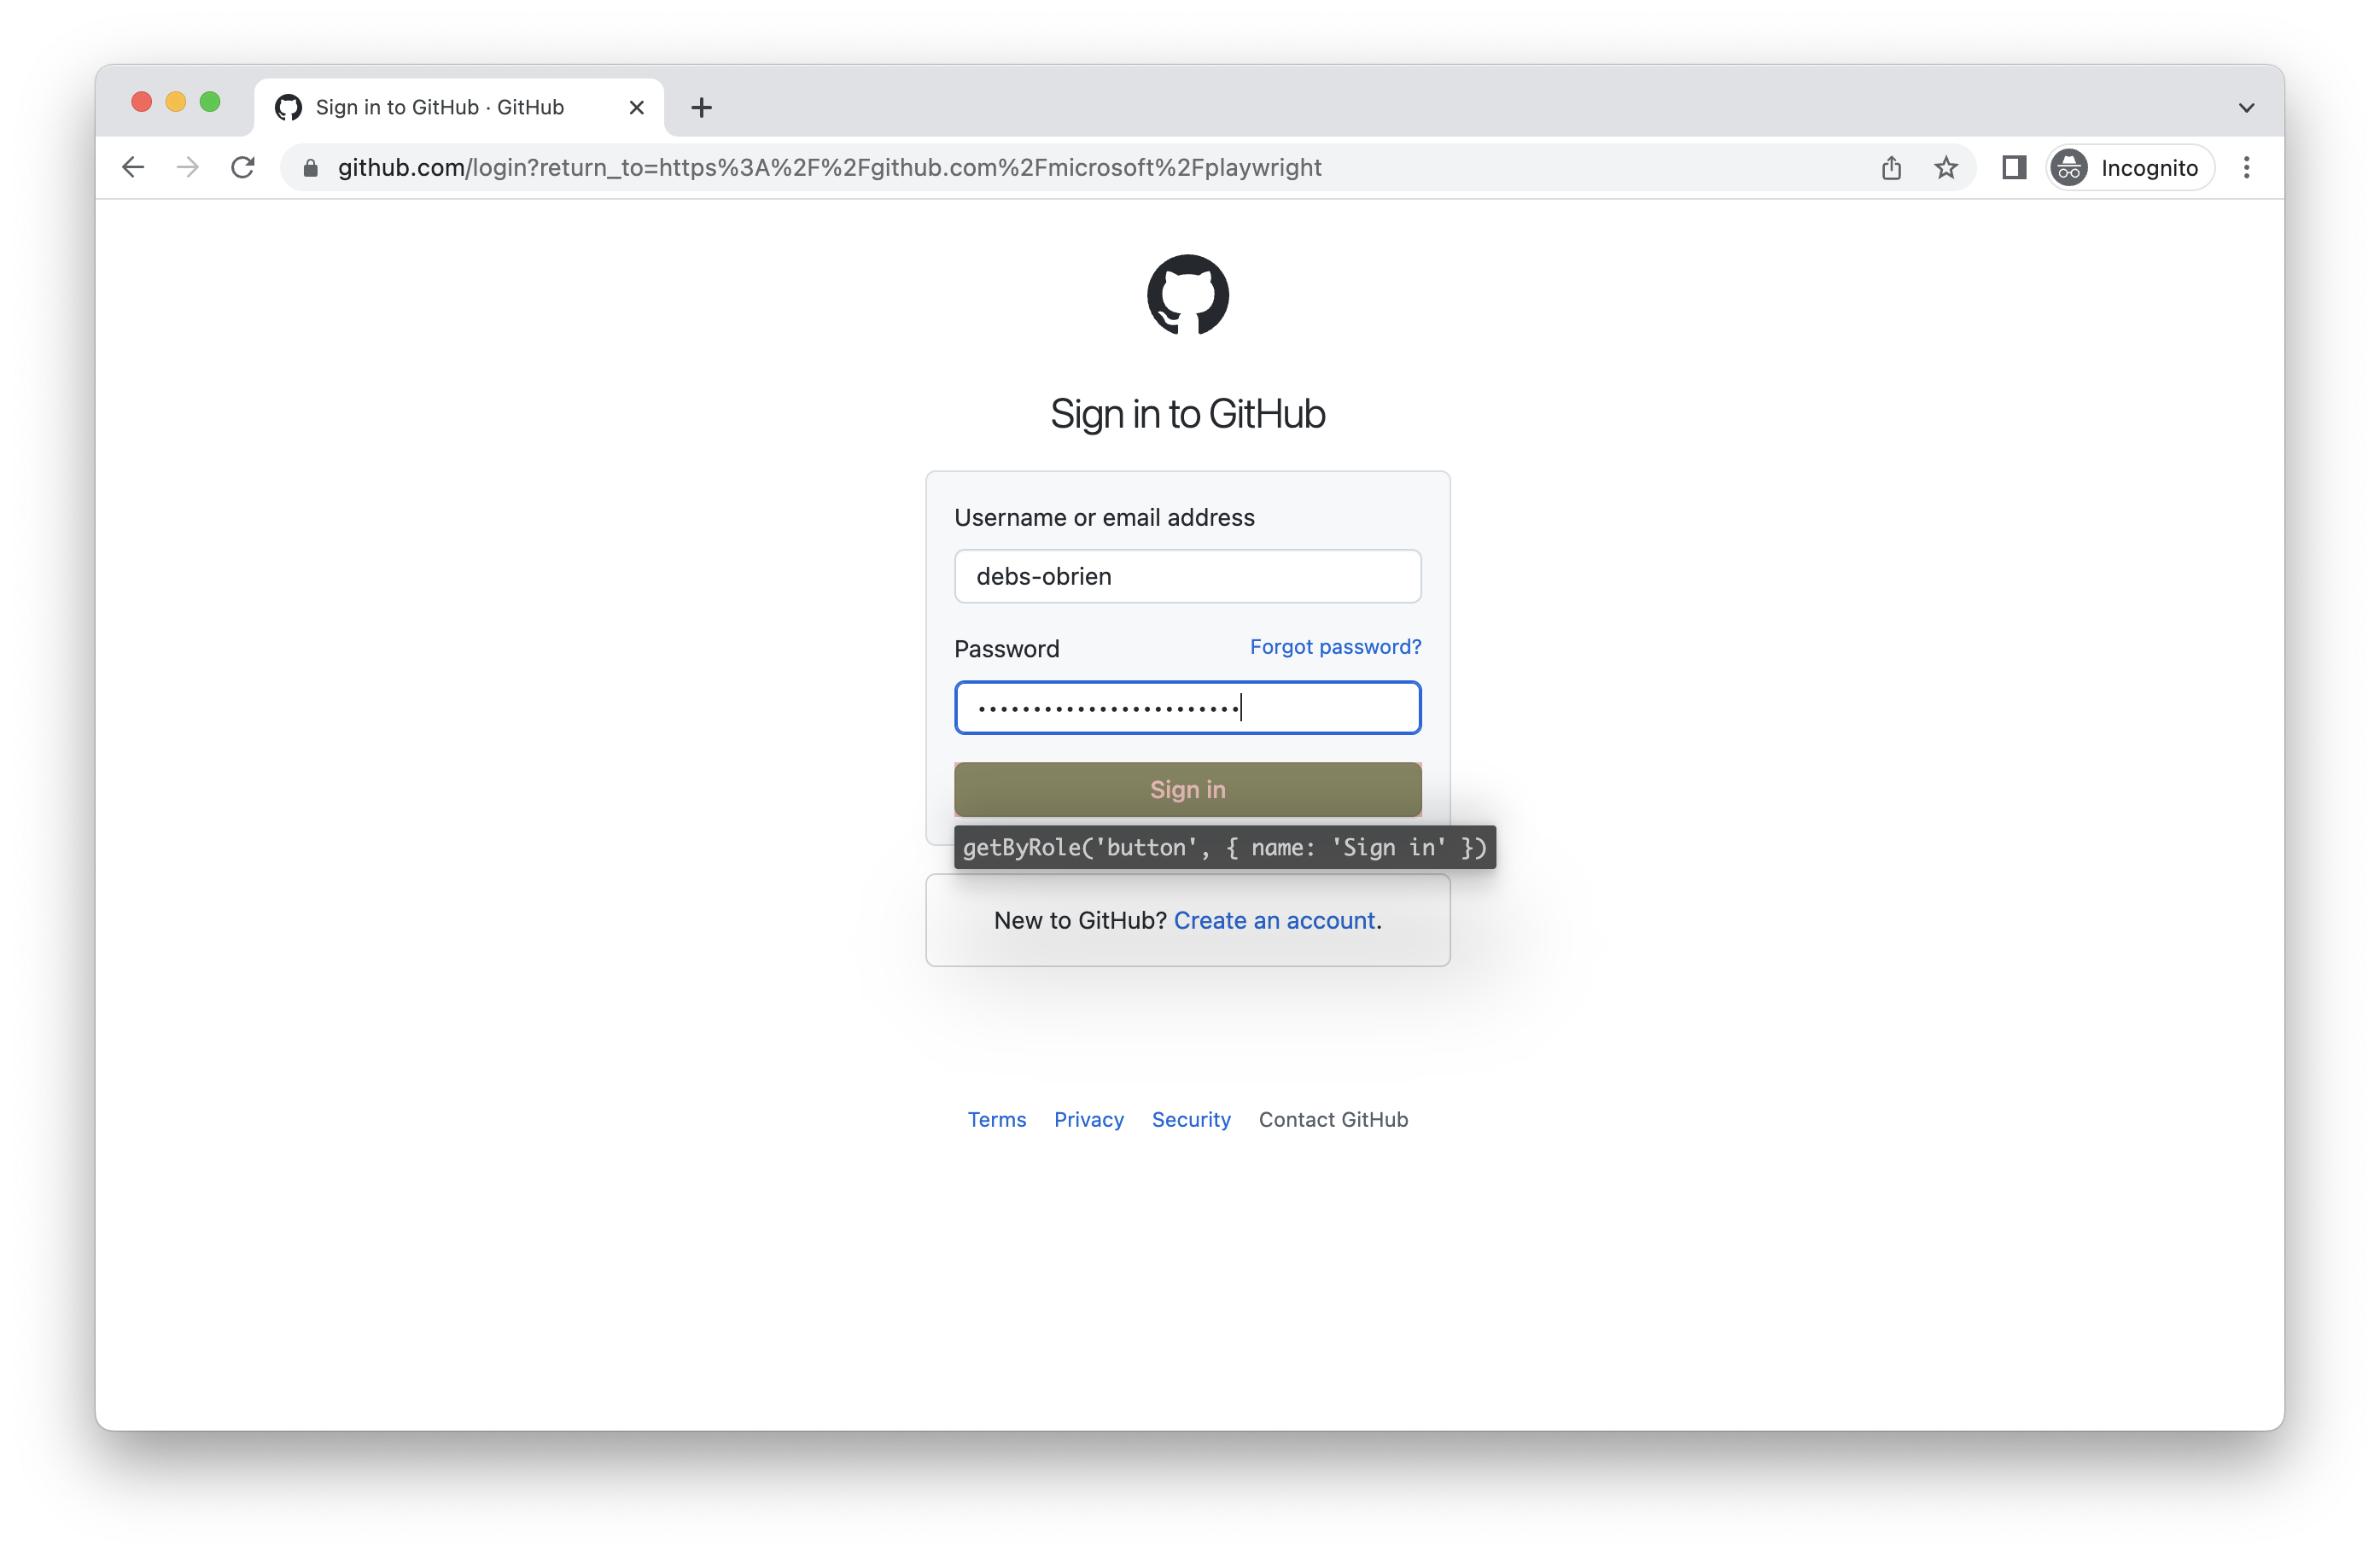
确保你只在本地使用 auth.json,因为它包含敏感信息。在生成测试完成后,将其添加到你的 .gitignore 中或将其删除。
🌐 Make sure you only use the auth.json locally as it contains sensitive information. Add it to your .gitignore or delete it once you have finished generating your tests.
加载已验证状态
🌐 Load authenticated state
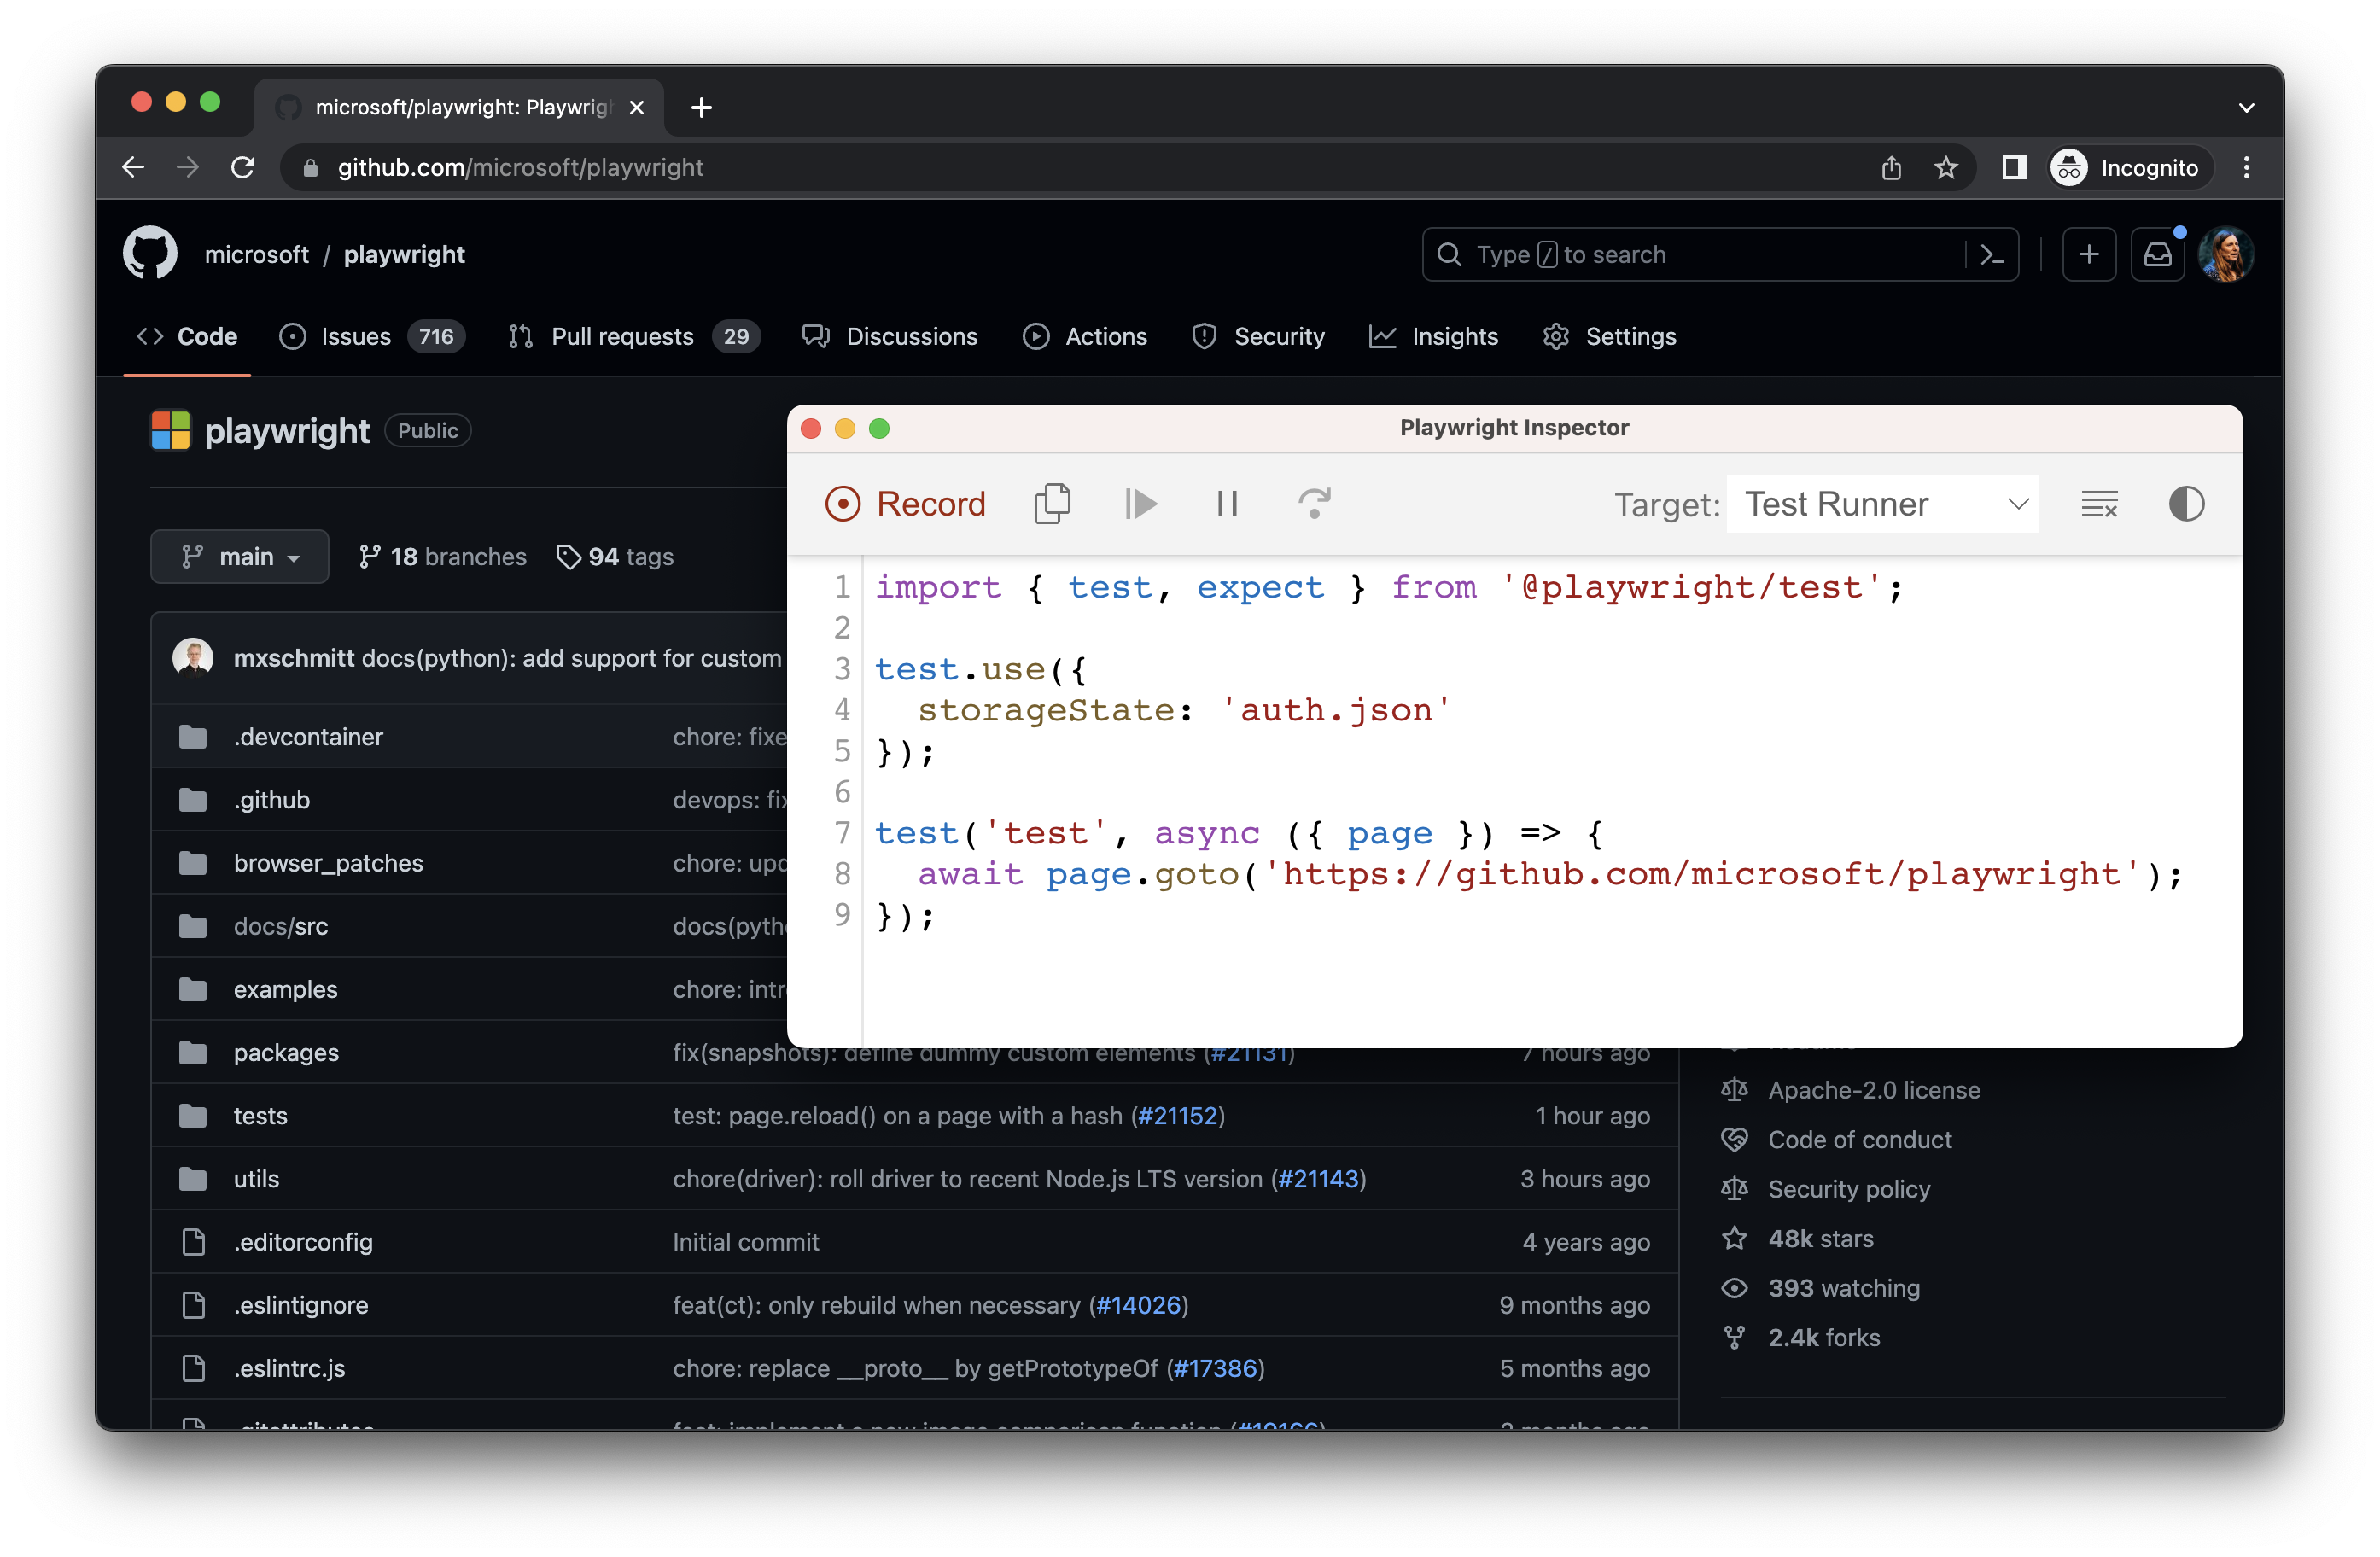
使用 --load-storage 运行以使用之前从 auth.json 加载的存储。这样,所有 cookies、localStorage 和 IndexedDB 数据都会恢复,使大多数 web 应用回到已认证状态,而无需再次登录。这意味着你可以从已登录的状态继续生成测试。
🌐 Run with --load-storage to consume the previously loaded storage from the auth.json. This way, all cookies, localStorage and IndexedDB data will be restored, bringing most web apps to the authenticated state without the need to login again. This means you can continue generating tests from the logged in state.
npx playwright codegen --load-storage=auth.json github.com/microsoft/playwright
使用现有的 userDataDir
🌐 Use existing userDataDir
运行 codegen 并使用 --user-data-dir 来为浏览器会话设置一个固定的用户数据目录。如果你创建了自定义的浏览器用户数据目录,codegen 将使用现有的浏览器配置文件,并能够访问该配置文件中存在的任何身份验证状态。
🌐 Run codegen with --user-data-dir to set a fixed user data directory for the browser session. If you create a custom browser user data directory, codegen will use this existing browser profile and have access to any authentication state present in that profile.
从 Chrome 136 起,无法通过自动化工具(如 Playwright)访问默认的用户数据目录。你必须为测试创建一个单独的用户数据目录。:::
npx playwright codegen --user-data-dir=/path/to/your/browser/data/ github.com/microsoft/playwright
使用自定义设置进行录制
🌐 Record using custom setup
如果你想在某些非标准环境中使用 codegen(例如,使用 browserContext.route()),可以调用 page.pause(),这将会打开一个带有 codegen 控制的独立窗口。
🌐 If you would like to use codegen in some non-standard setup (for example, use browserContext.route()), it is possible to call page.pause() that will open a separate window with codegen controls.
const { chromium } = require('@playwright/test');

(async () => {
  // Make sure to run headed.
  const browser = await chromium.launch({ headless: false });

  // Setup context however you like.
  const context = await browser.newContext({ /* pass any options */ });
  await context.route('**/*', route => route.continue());

  // Pause the page, and start recording manually.
  const page = await context.newPage();
  await page.pause();
})();